I love empanadas! You can’t find them just anywhere, and sometimes when you do find them on a menu, they just aren’t that good. So, a couple of years ago I decided that I needed to come up with a recipe of my own to make them. I knew what I wanted in terms of a filling for them, so then it was just a matter of trial and error coming up with a recipe for the dough. Voila! Sweet success!
These are really easy to make and put together, however, they are very time consuming. It is only for that reason that I don’t make them often. They are so delicious, though, that you really should give them a try sometime. These are one of those things that take forever to make and are gone in an instant. These are great for a party appetizer or a main course with some coordinating side dishes. You can also deep fry them instead of baking them if you want, but these come out really crispy without frying, and baking is definitely the healthier option.
When I make these, I make two different fillings for them. One is more of a traditional style filling and the other is has a little more of a southwestern flair. Both are equally delicious. Feel free to experiment with your own favorite flavors for the filling as well.
One recipe of the dough will make enough for one batch of the filling. Since I don’t make these often, when I do make them, I usually make a double batch of dough and both of the fillings. After I put them all together, I usually cook half of them and freeze the other half to make another time. It is easy to freeze them and then just pop them in the oven when your ready. Lay them on a wax paper lined cookie/baking sheet and put them in the freezer until frozen, then take them out and put them in Ziploc freezer bags until your ready to use.
Empanadas
For the Dough:
- 4 1/2 cups unbleached, all-purpose flour
- 3 teaspoons sea salt
- 2 sticks of cold butter, cut into 1 tablespoon sections
- 2 large eggs, plus one extra for egg wash
- 2/3 cup ice water
- 2 tablespoons distilled white vinegar
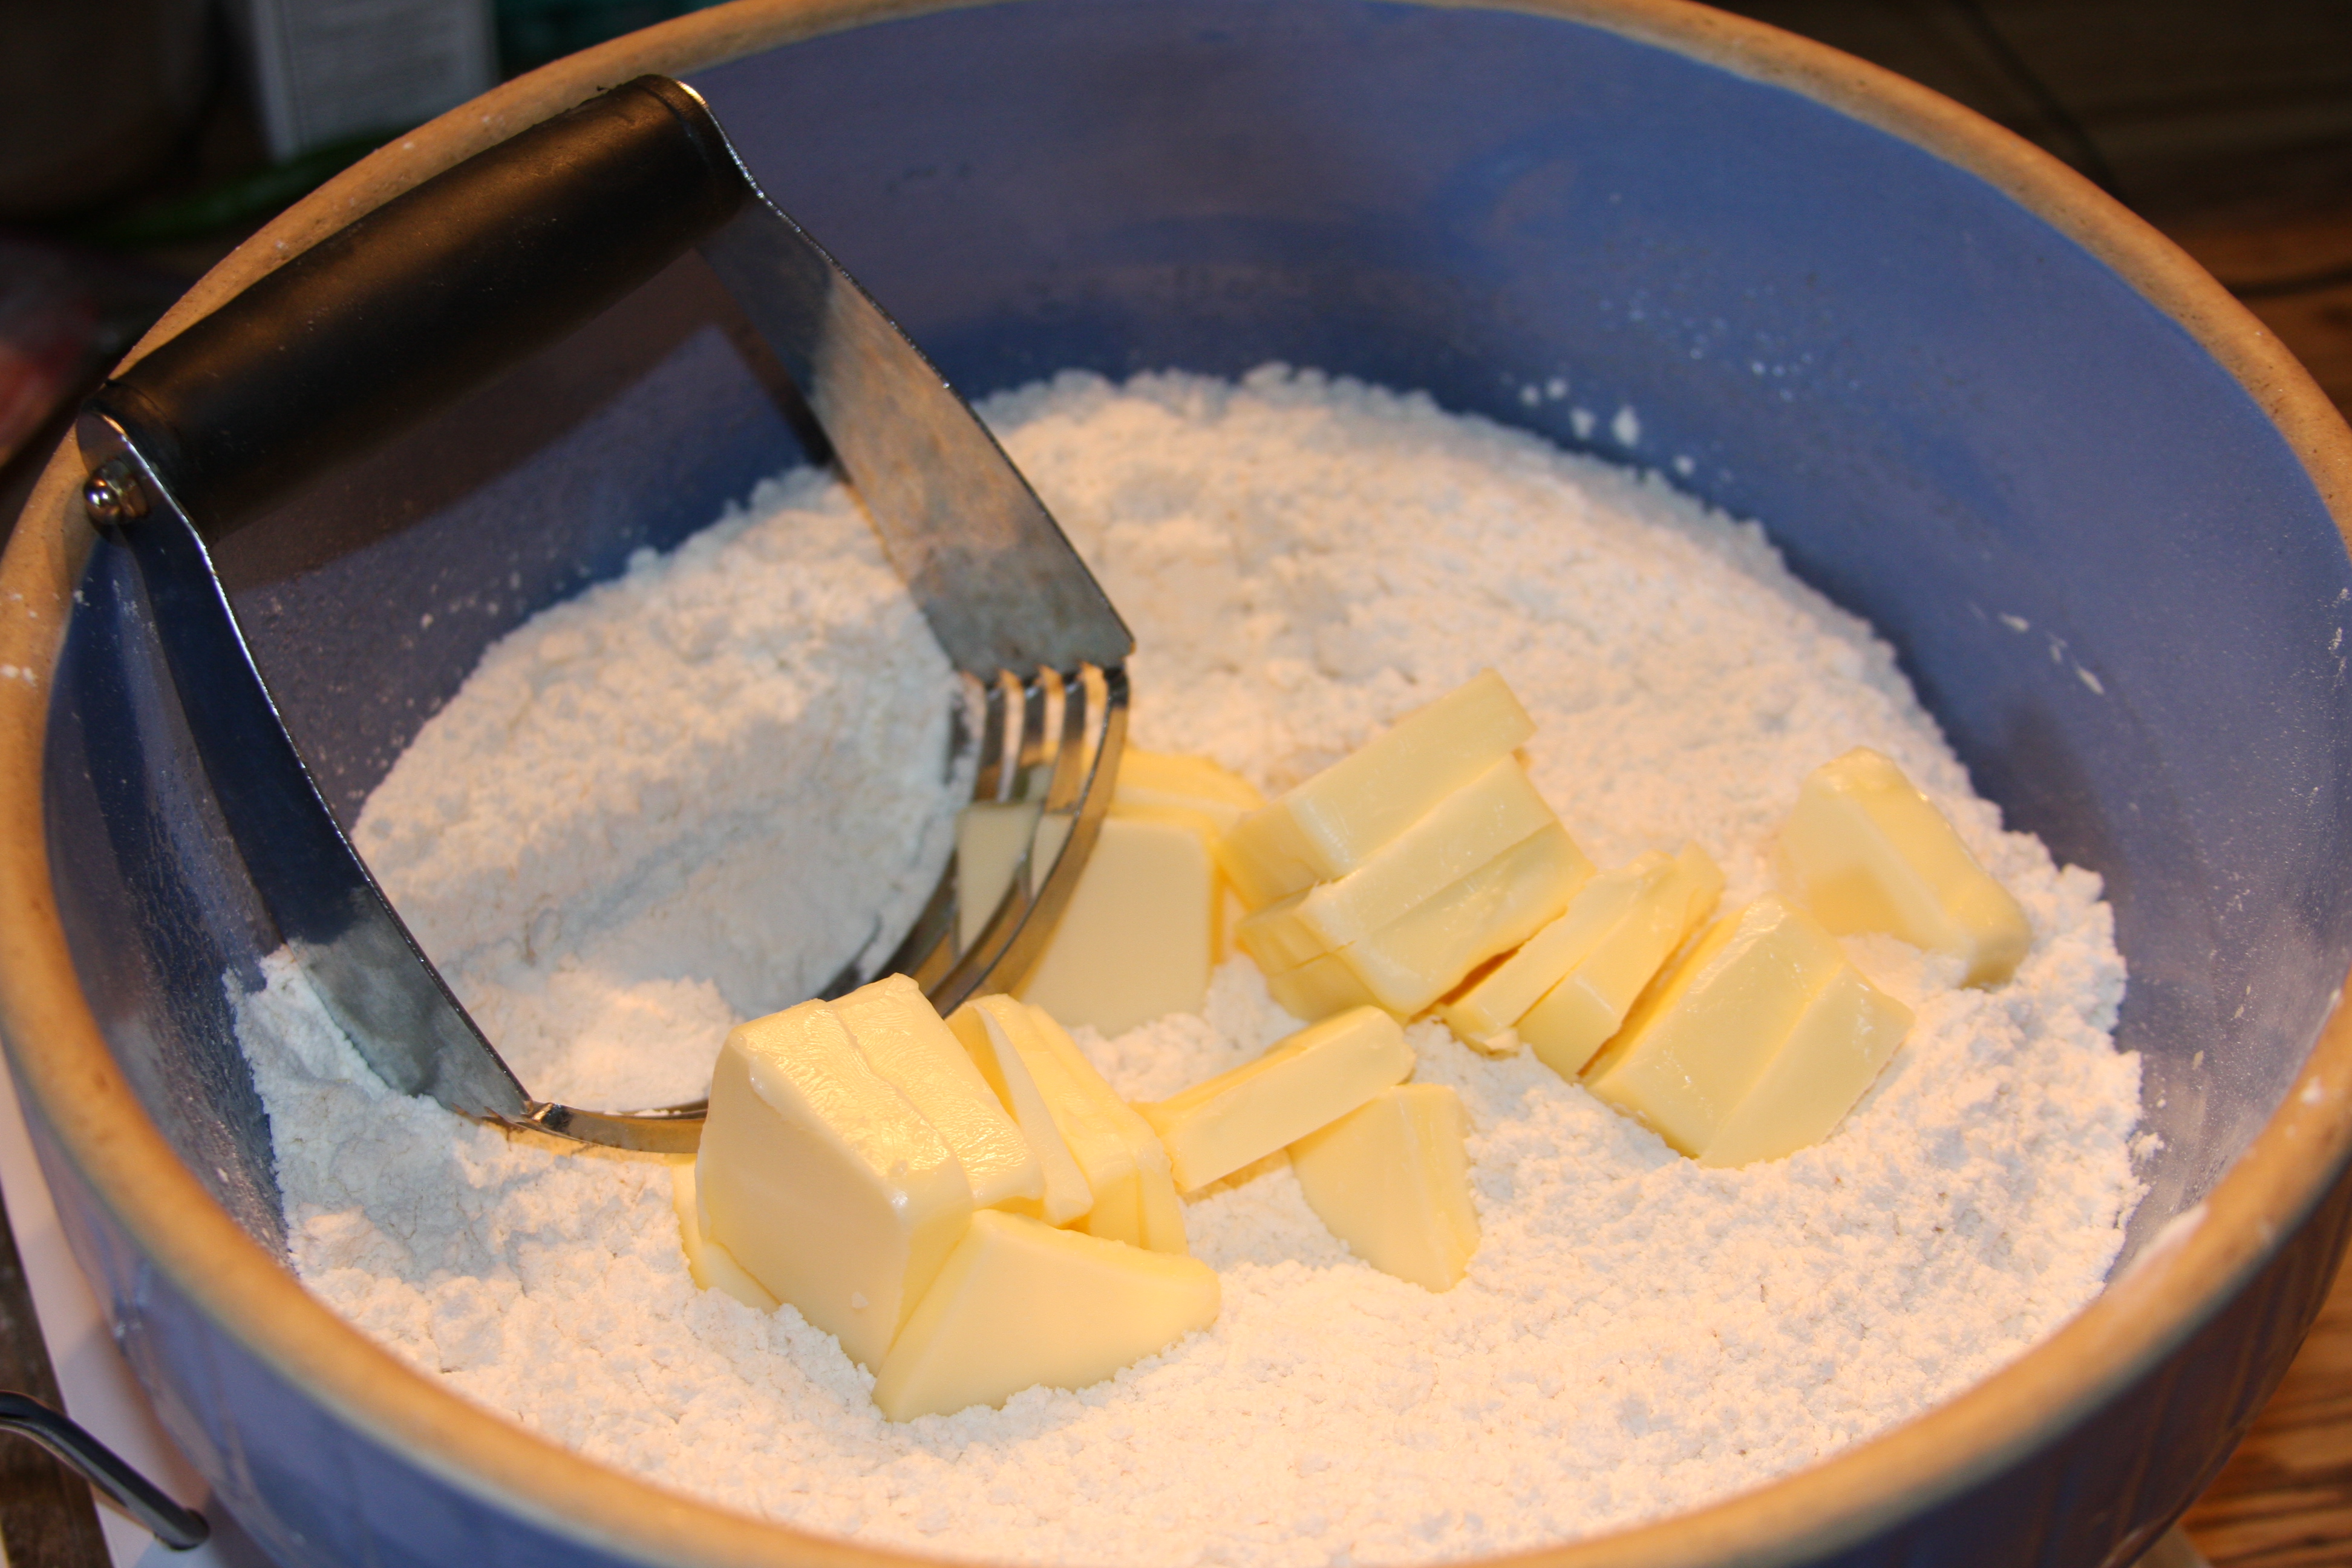
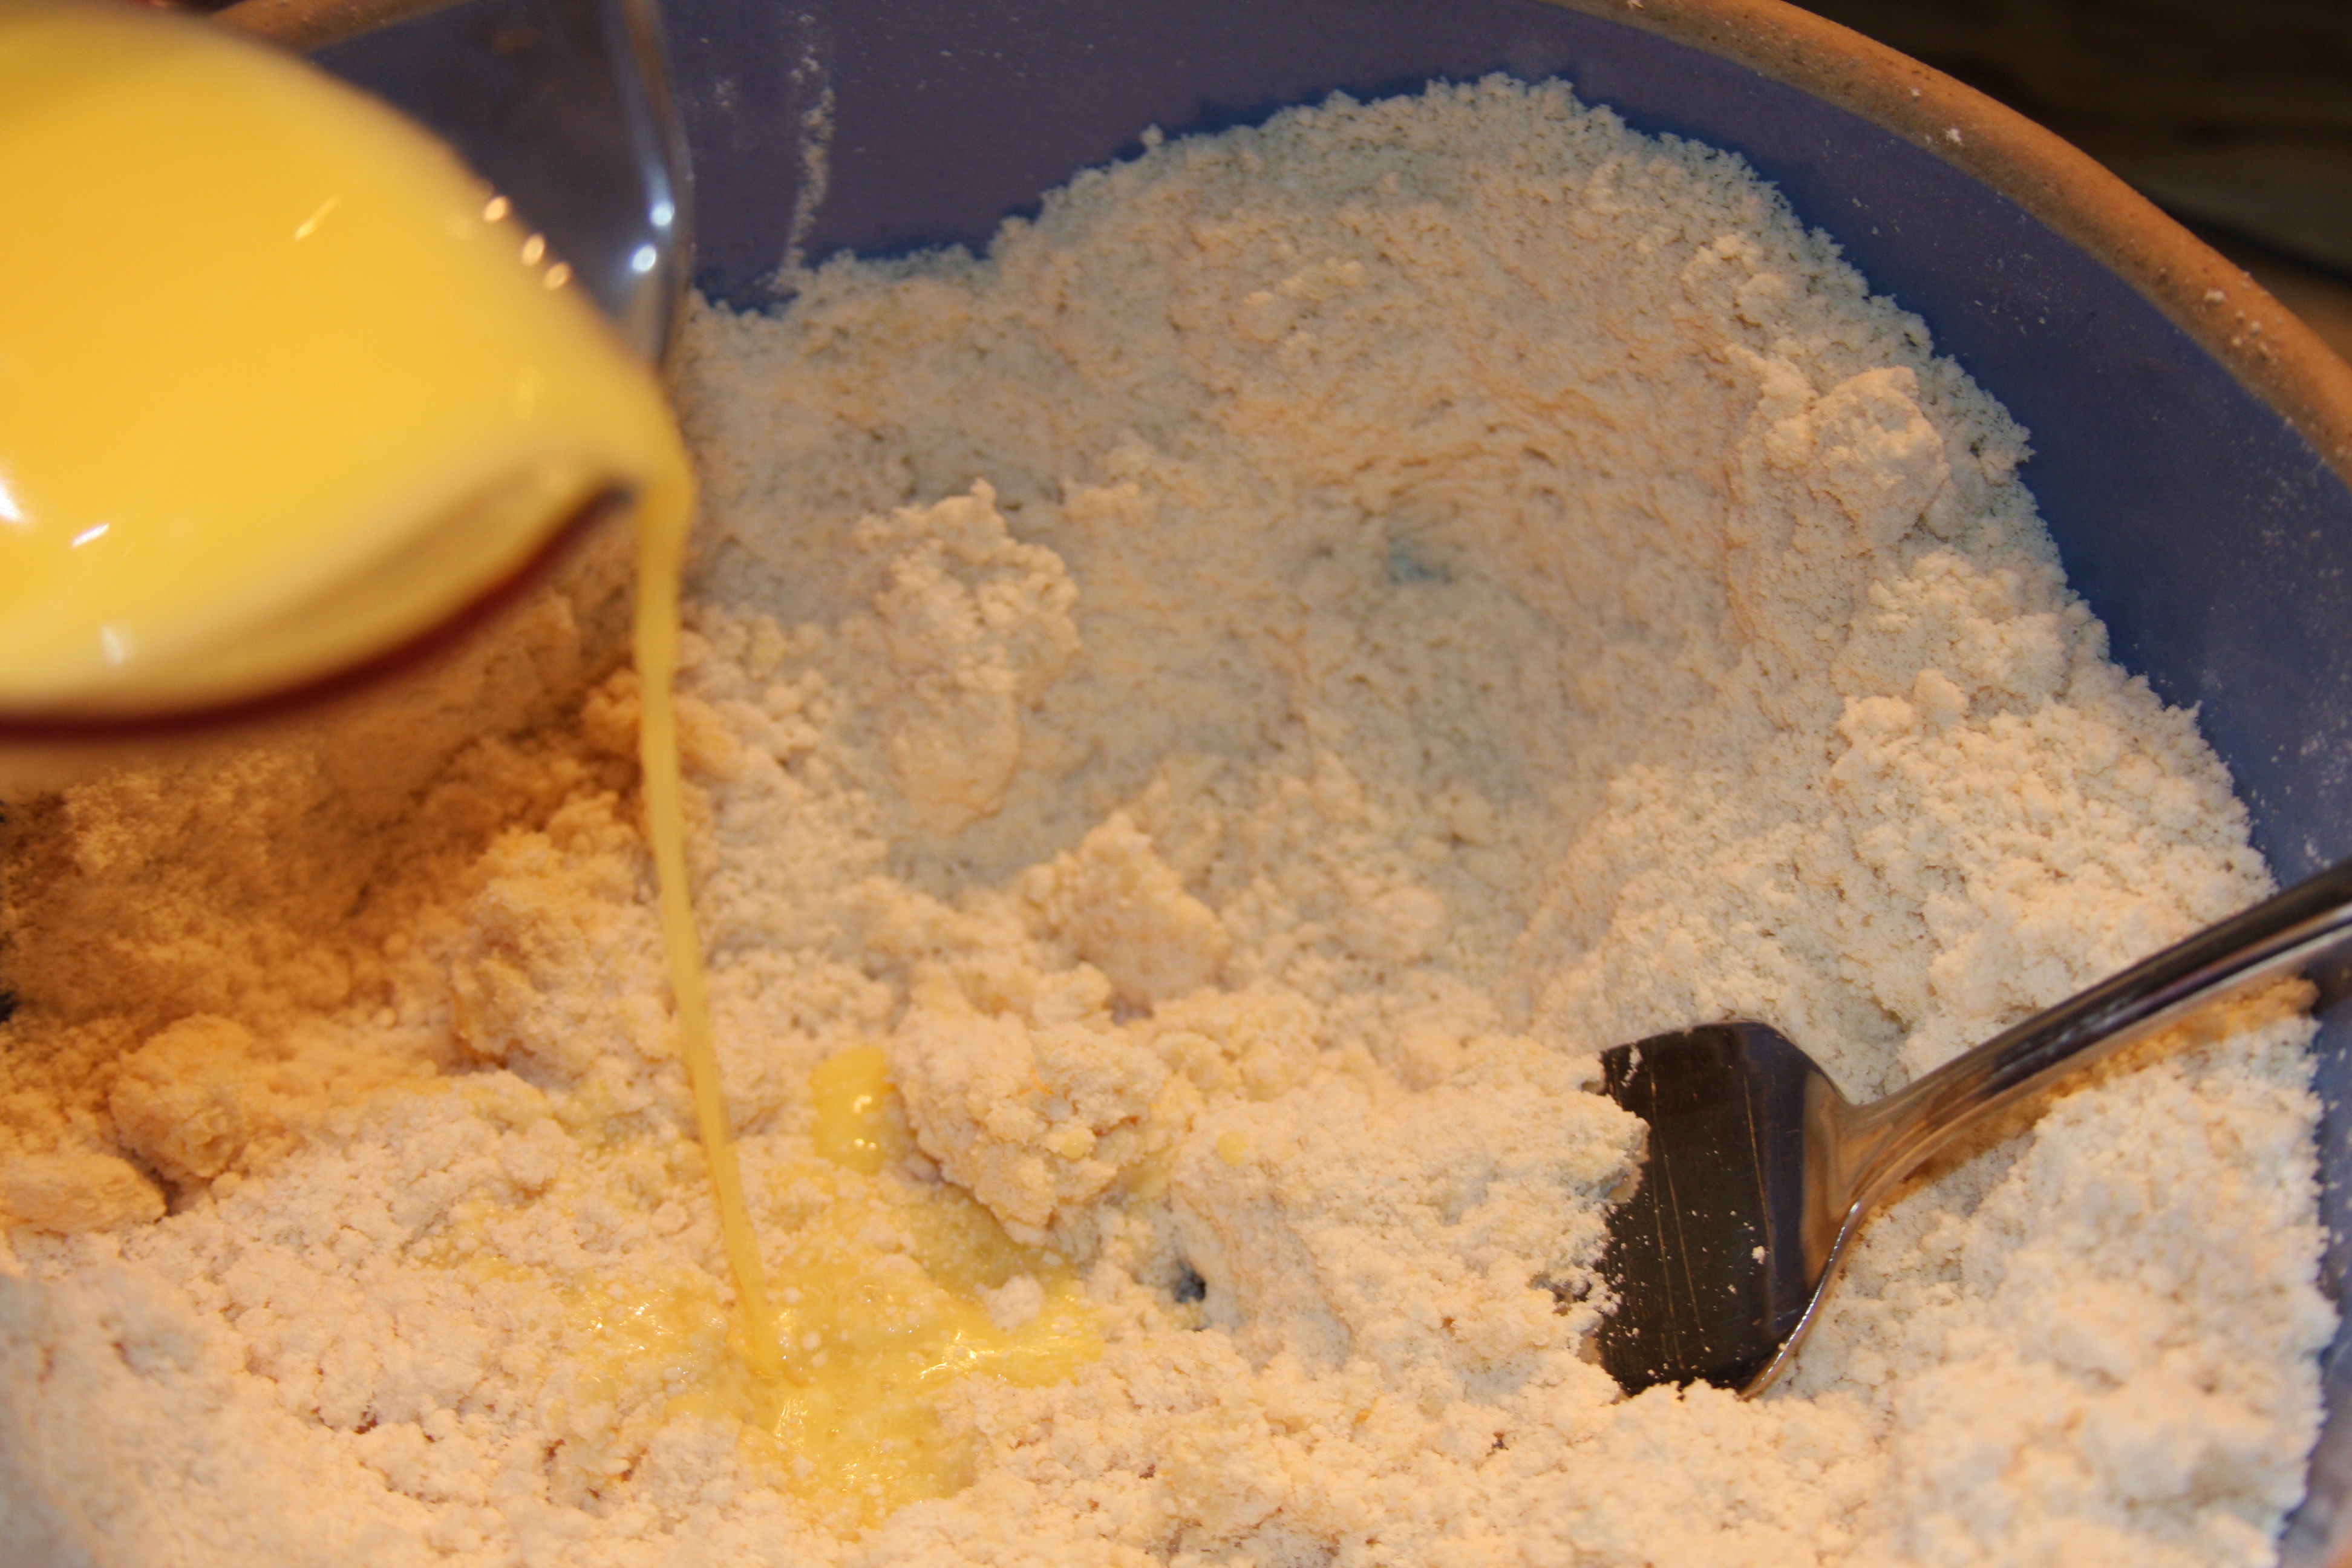
Sift the flour with the salt into a large bowl and blend in the butter with your fingertips or a pastry blender until the mixture resembles course meal with some tiny lumps of butter.
 I start with the pastry blender and then use my hands to really blend the butter together.
Beat together the two eggs, water and vinegar in a small bowl with a fork. Add this slowly to the flour mixture stirring the whole time with a fork until incorporated.
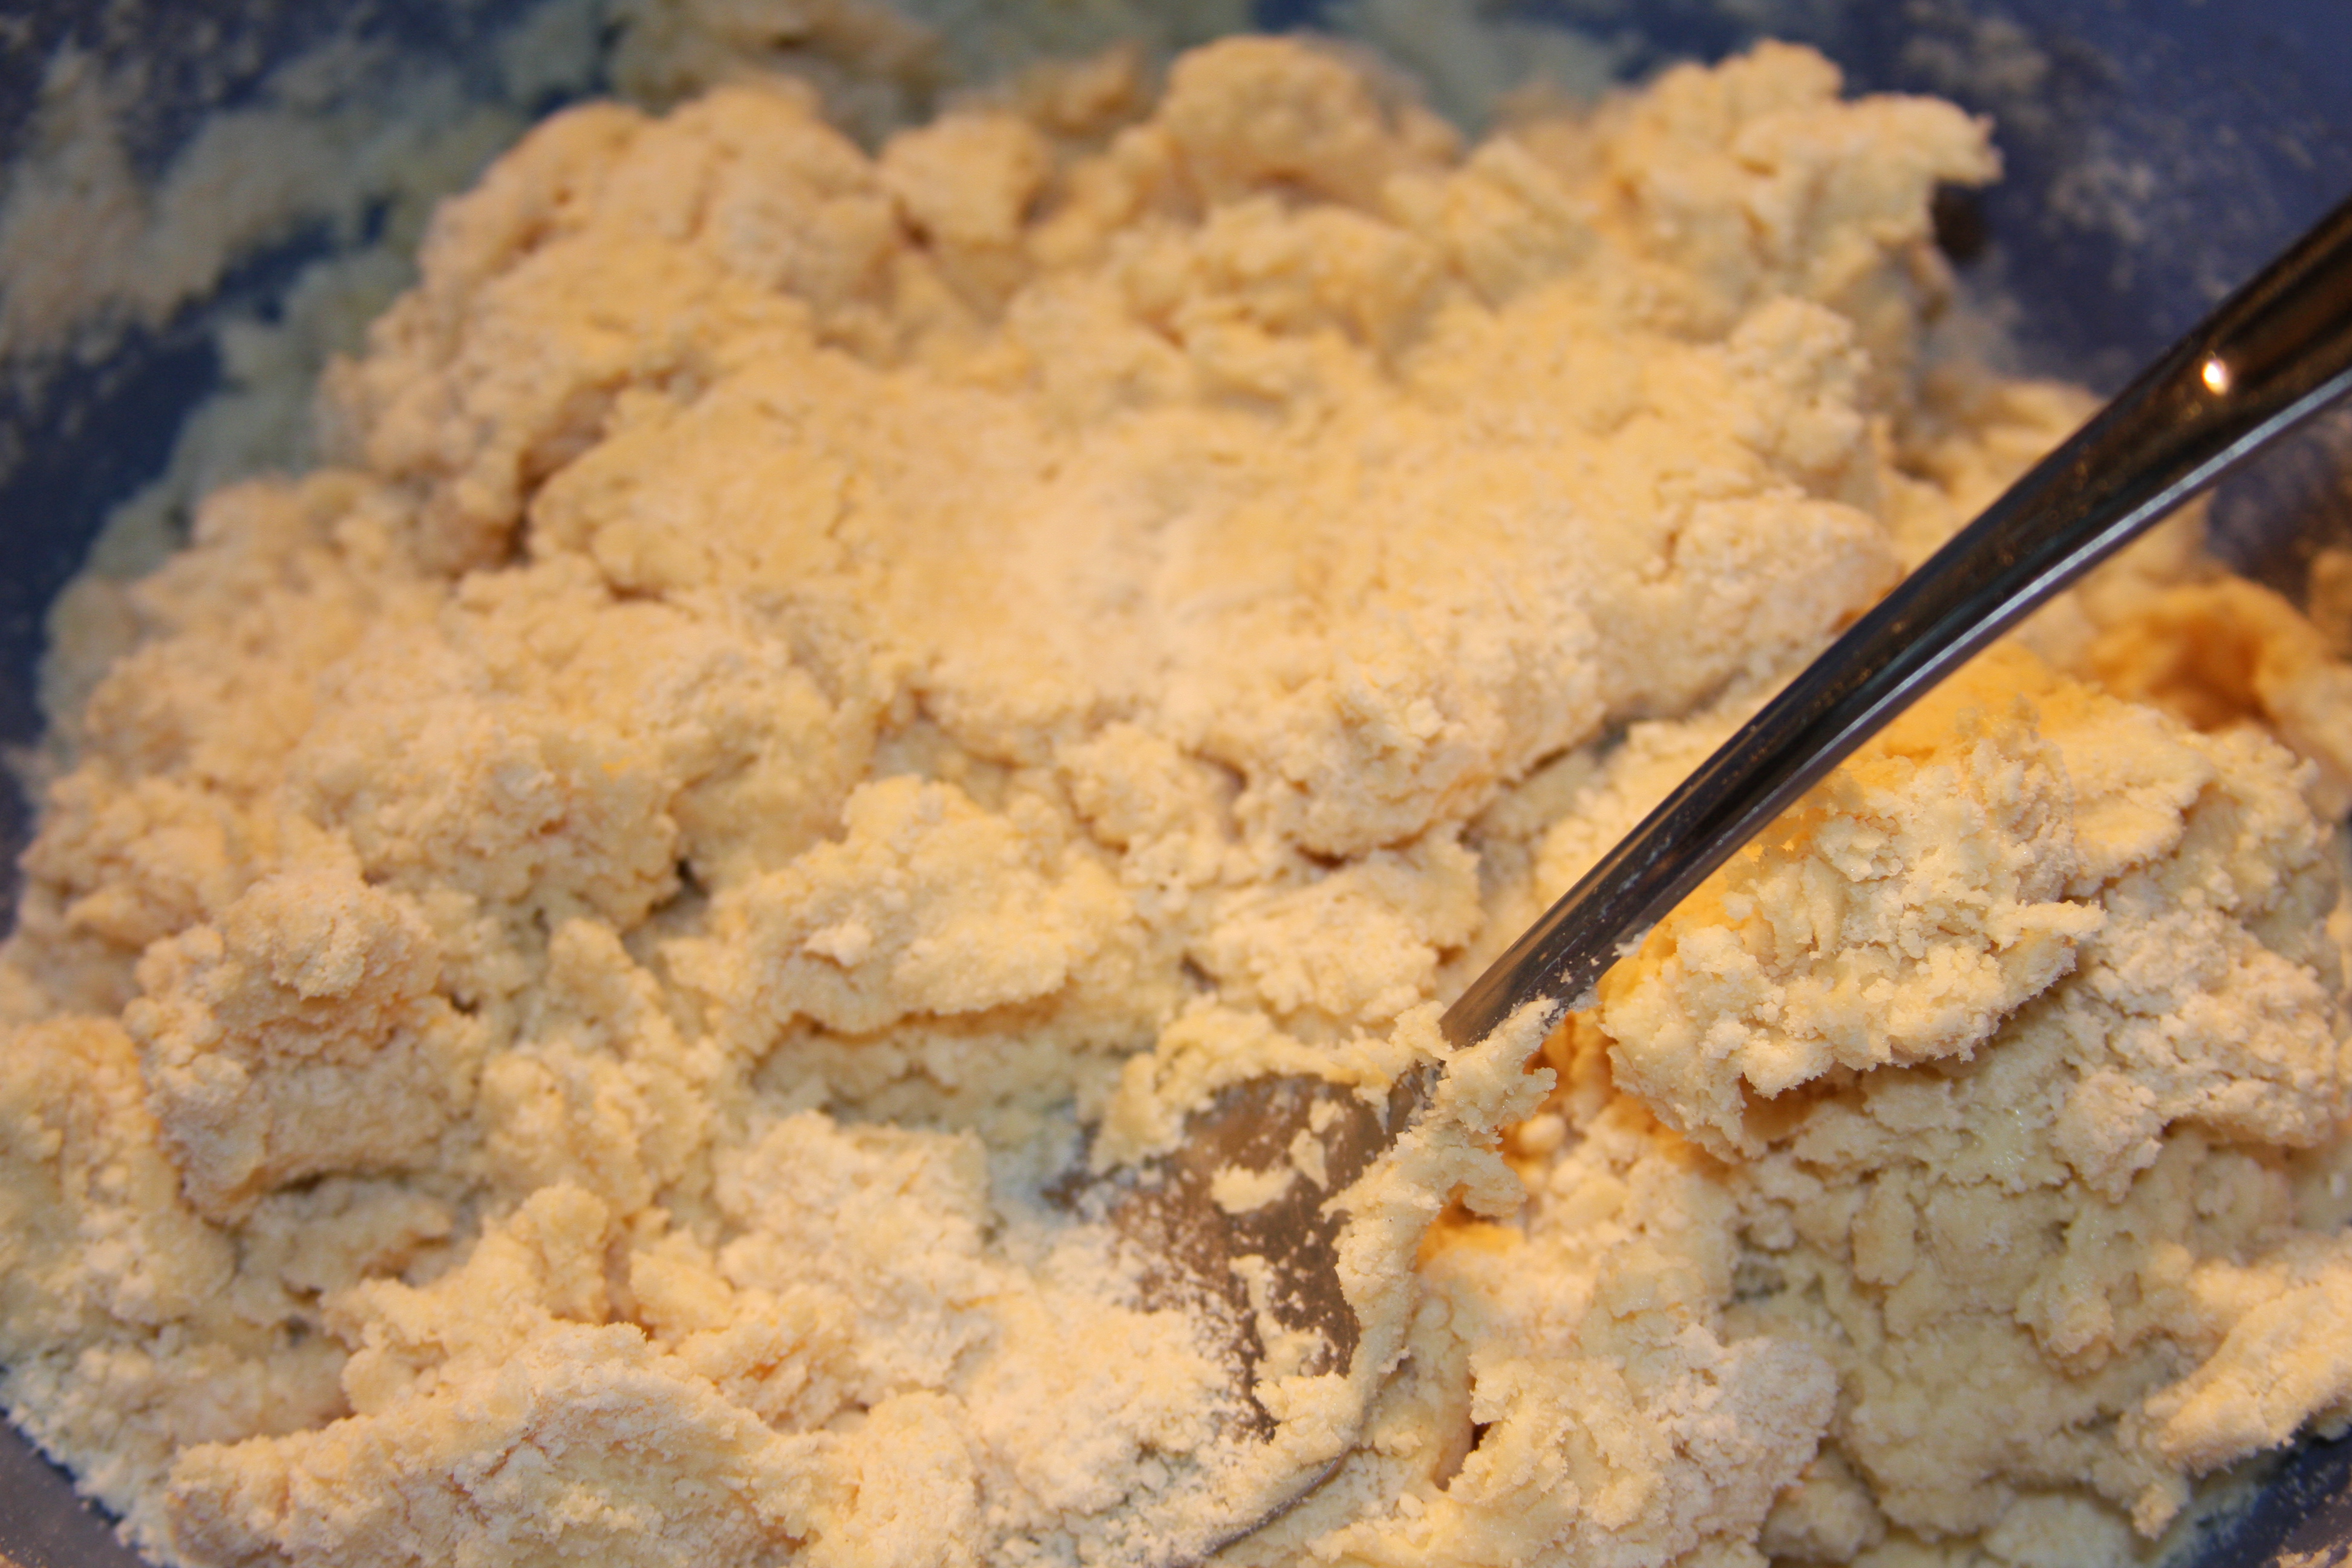
 The mixture will look somewhat shaggy, like this.
 Turn out the mixture onto a lightly floured surface (I use a big bowl so I just keep it in the bowl to do this step). Kneed gently with the heel of your hands a couple of times, just enough to bring the dough together. Form the dough into two flat disks, wrap in plastic wrap and put in the fridge.
 While your dough is resting, you will start making your filling.
Filling option one:
- 3 small/medium Yukon gold potatoes
- 1/2 teaspoon salt
Peel and dice potatoes. Put them in a pot and fill with just enough water to cover them and add salt. Boil over medium heat until potatoes are fork tender. Remove from heat, and using a mixer, blend potatoes until completely creamy, no lumps. Set aside.
- 1/2 sweet onion, diced
- 1/2 green pepper, diced
- 1/2 yellow pepper, diced
- 1/2 orange pepper, diced
- 1/2 red pepper, diced
- 1/2- 3/4 cup green olives with pimentos, diced
- 2-3 green onions, sliced thin
- 2 teaspoons minced garlic
- 2 tablespoons butter
- cumin, salt and pepper, to taste
Heat a large skillet over medium heat and add butter. Once pan is hot, add in the onions and peppers and cook until they are soft and just start to caramelize. Then add in olives, green onions and your seasonings. Stir this well and continue cooking for an additional 5 minutes. Remove from heat and place mixture into a bowl. Set aside.
- 1 pound ground beef
- 2 pork sausages, casings removed (Don’t eat pork? Just substitute a little more beef.)
- 4-5 oz tomato paste (this is about 3/4 of a small can)
- cumin, salt and pepper, to taste
Using the same skillet you used to cook the veggies, you will crumble in the meats and cook over medium heat until evenly browned. Add in tomato paste and seasonings and stir well. (You want just enough tomato paste to add richness to the meat, but not so much you make it runny) Add to this mixture the cooked veggies and the mashed potatoes and stir until completely blended together. Set aside to completely cool.
Filling option two:
- 1/2 red pepper, diced
- 1/2 yellow pepper, diced
- 1/2 orange pepper, diced
- 1/2 sweet onion, diced
- 2-3 green onions, thinly sliced
- 1 large can of black beans, drained and rinsed
- 2 cups fresh or frozen corn (preferably non-GMO)
- 3 teaspoons minced garlic
- 2 tablespoons of butter
- salt and pepper, to taste
- mushrooms, diced (optional)
- shredded Monterrey jack cheese
Melt butter in a large skillet over medium heat, add garlic and simmer for about a minute. Toss in the peppers, green onions and sweet onion (with mushrooms if your using) and saute until soft. Add in the beans, corn and salt and pepper and simmer until the beans are soft and all of the flavors are blended together. Remove from heat and stir in the cheese until melted. Set aside and let completely cool.
To assemble:
Get your dough out of the fridge and flour your surface well. Using a rolling pin, roll out your dough to about 1/4 an inch thickness. You don’t want it so thin that it can’t hold the filling, but you don’t want it so thick that you feel like all your eating is dough!
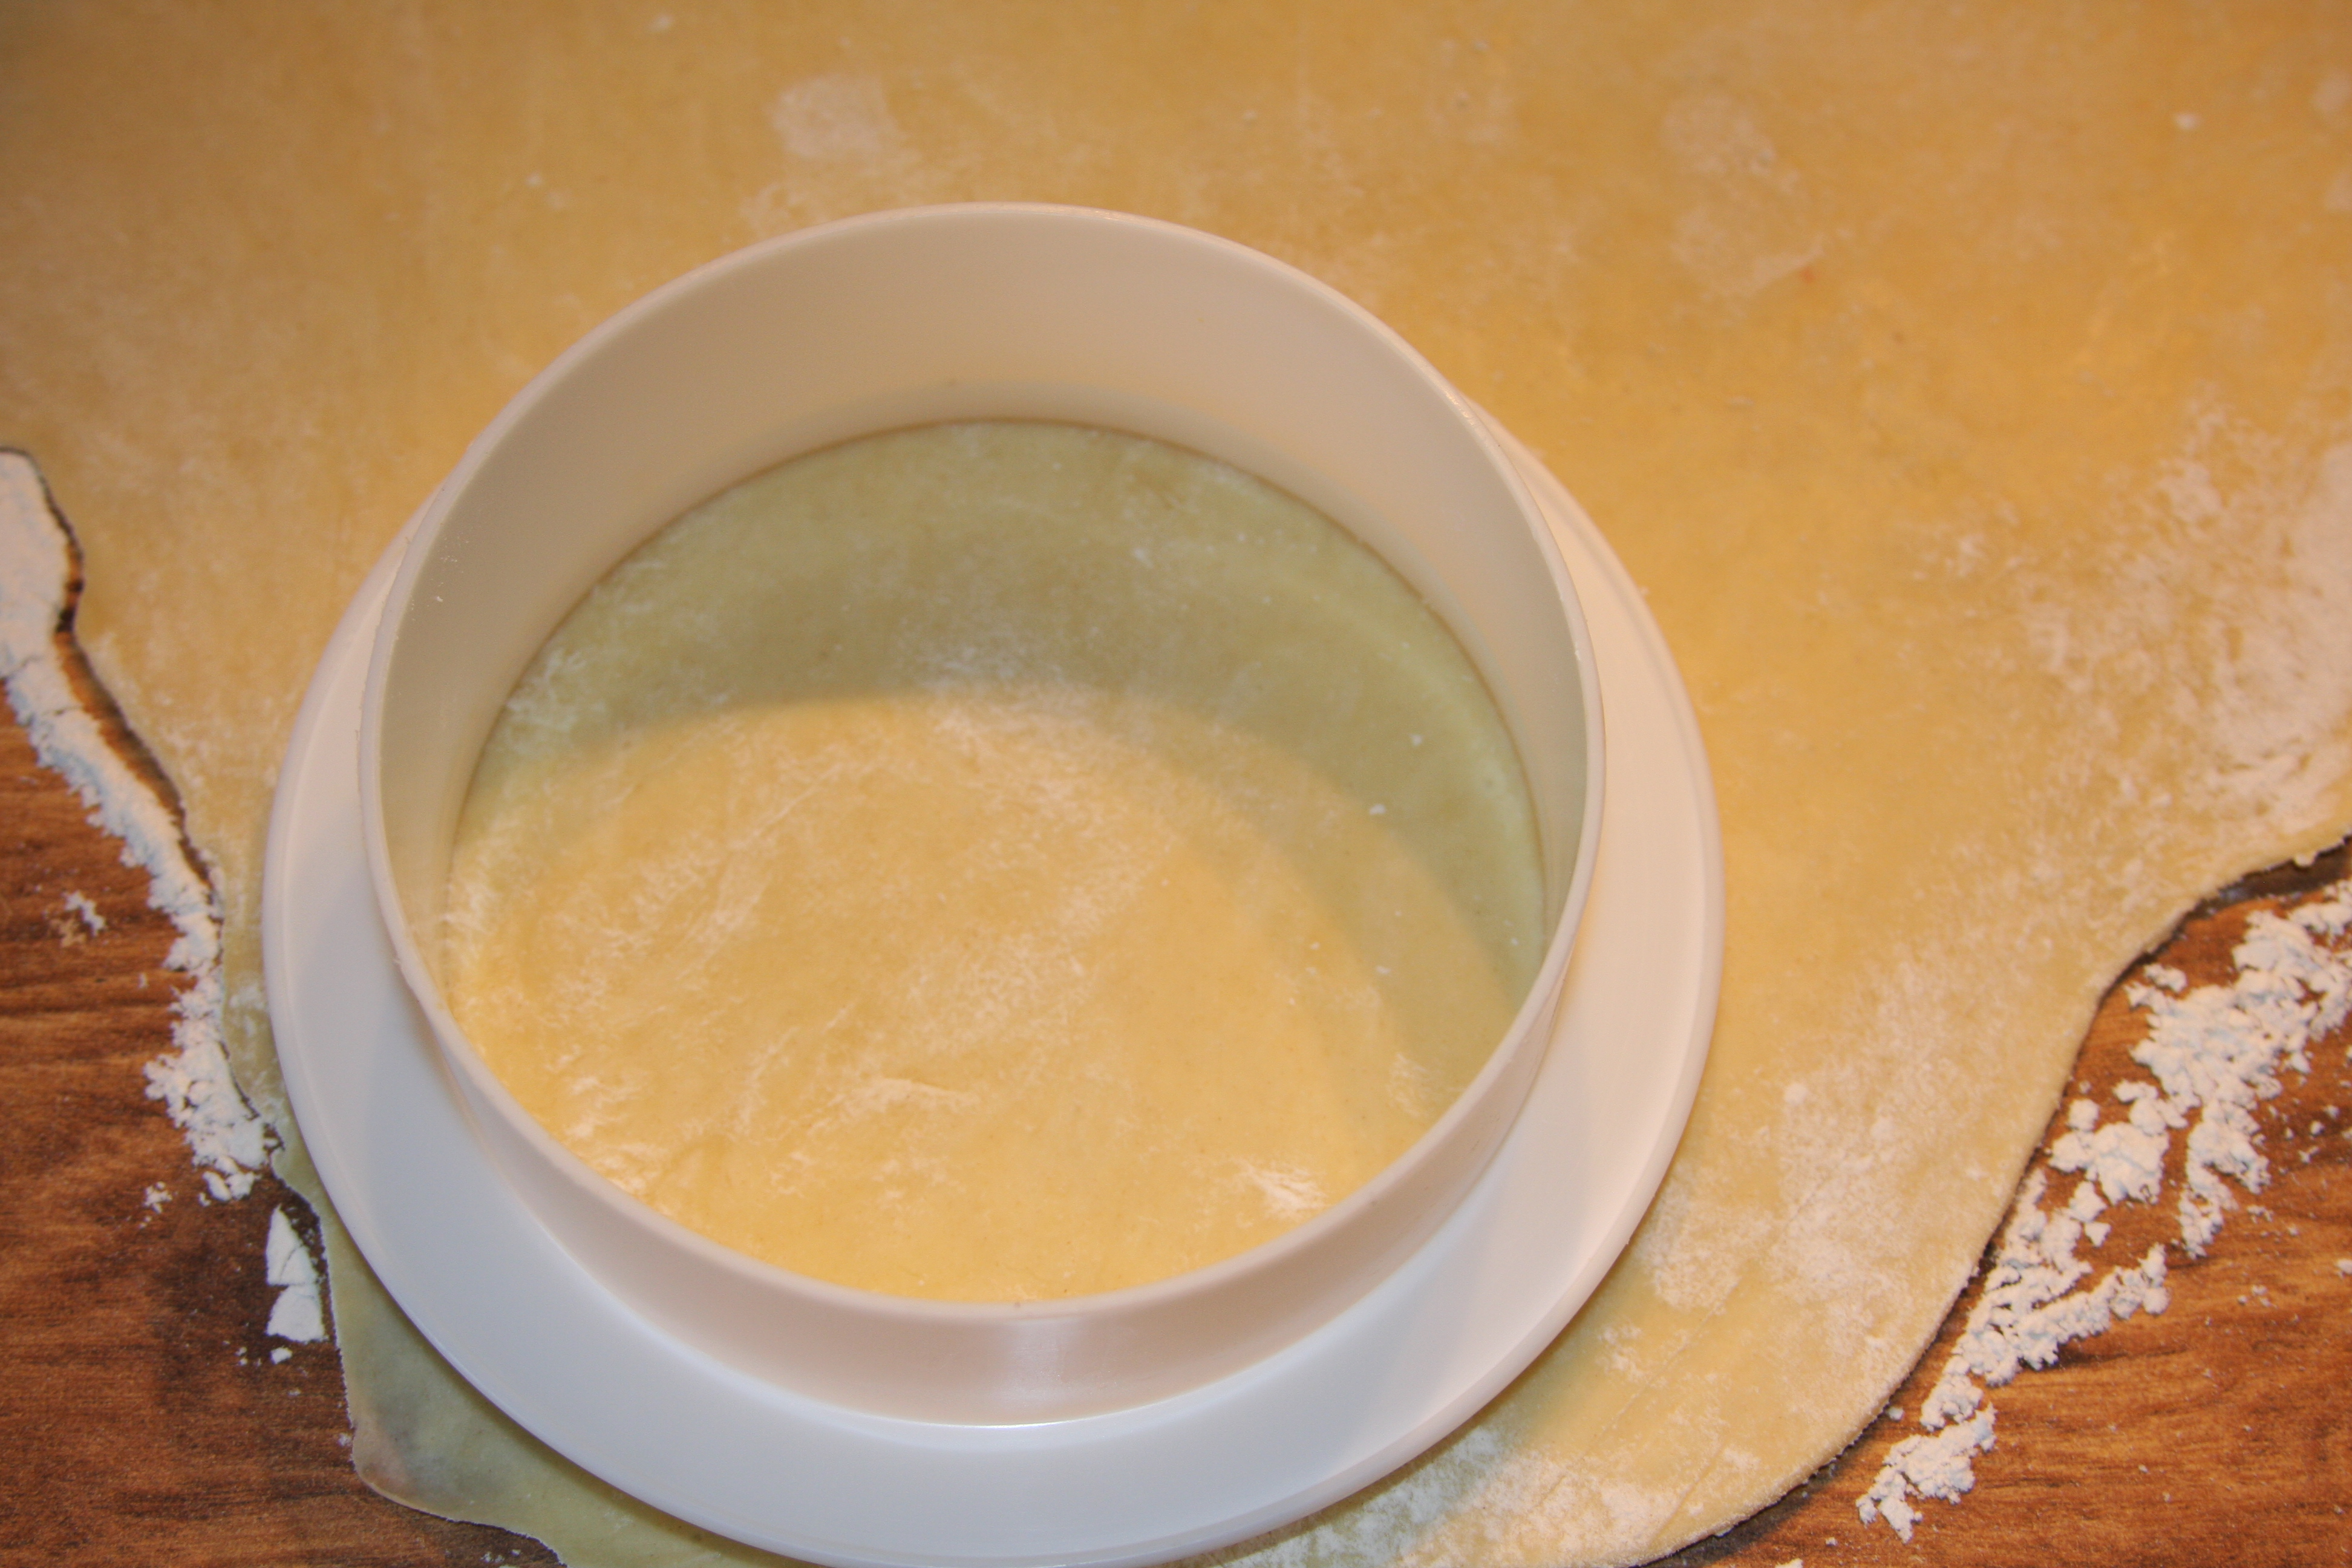
 Use a round bowl or cutter that is about 5 inches across to cut out your disks. After I cut mine out, I ended up rolling them out slightly larger with a rolling pin.
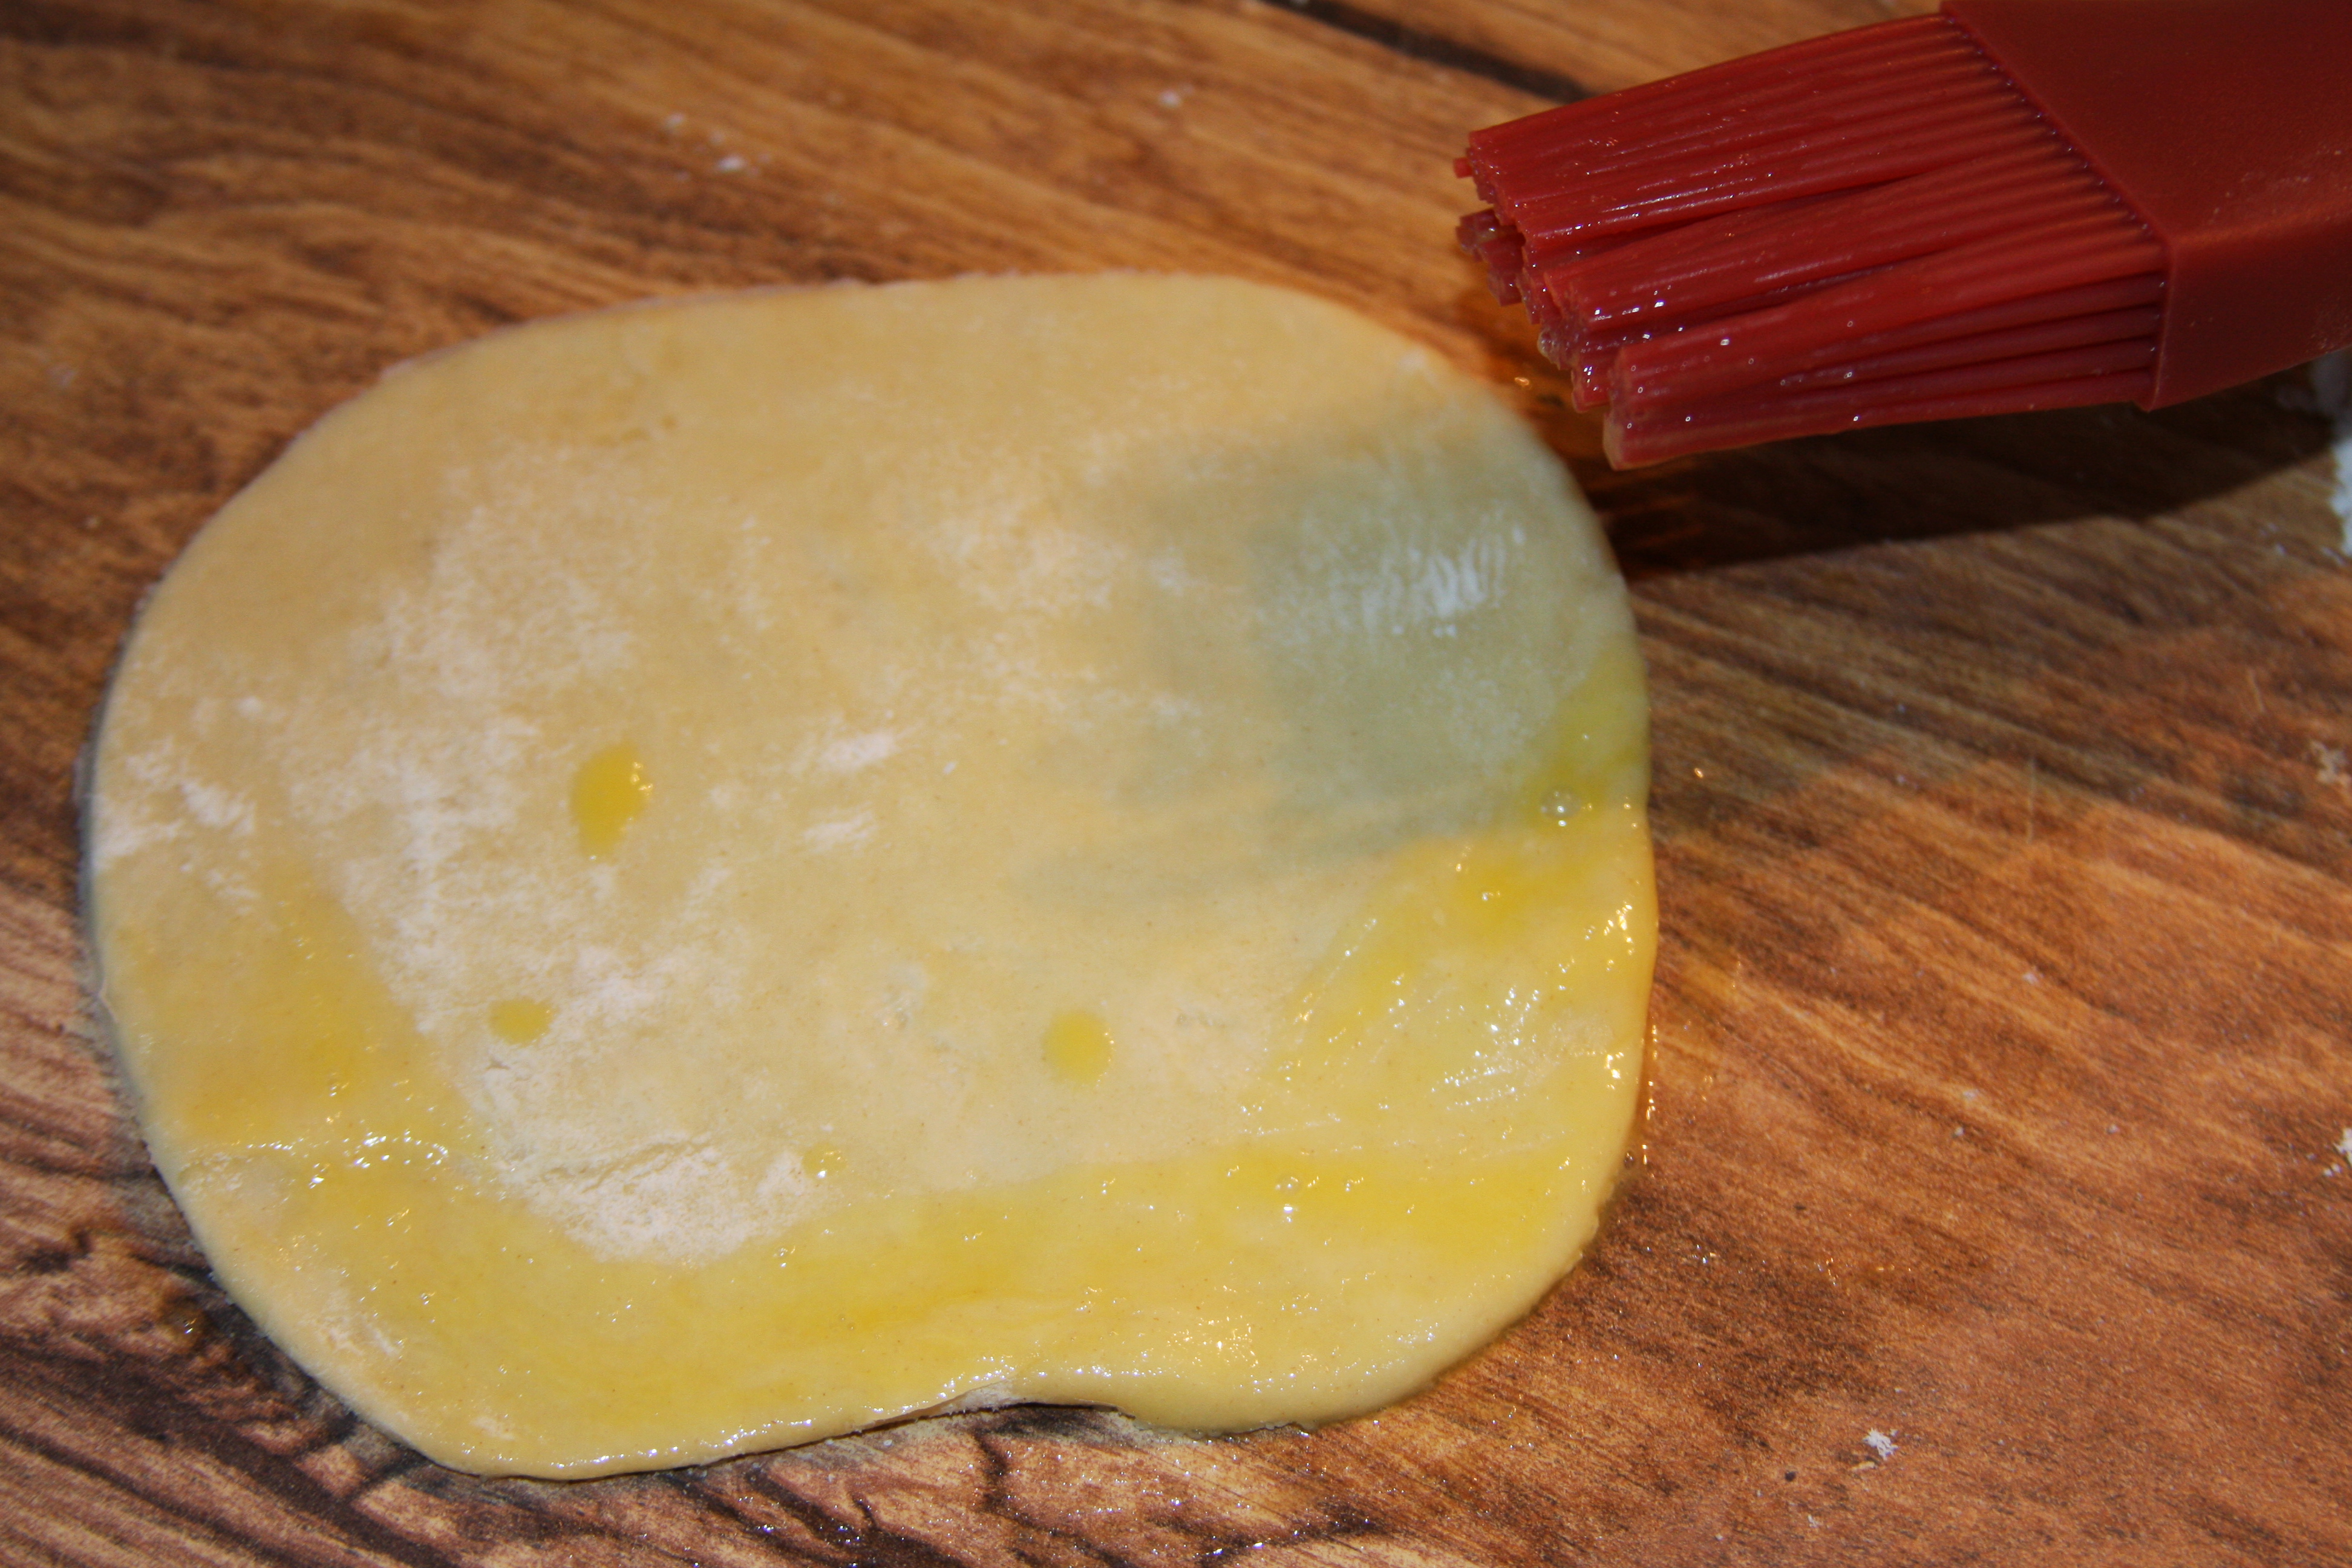
 Continue to roll out and cut out your disks until you have used up all the dough. Whisk your other egg in a small bowl, and using a pastry brush, add some egg wash to the bottom half of your disk. This will help the top part stick to it when you go to seal them up.
 Place your filling in the middle of the disk. You don’t want to overfill it, but add just enough so that you can get it sealed up well. Fold the top down to the bottom, press the sides together and then seal it by using a fork pressed down around the sides.
 Make sure that the edges are firmly sealed together so that the filling will not come out during baking.
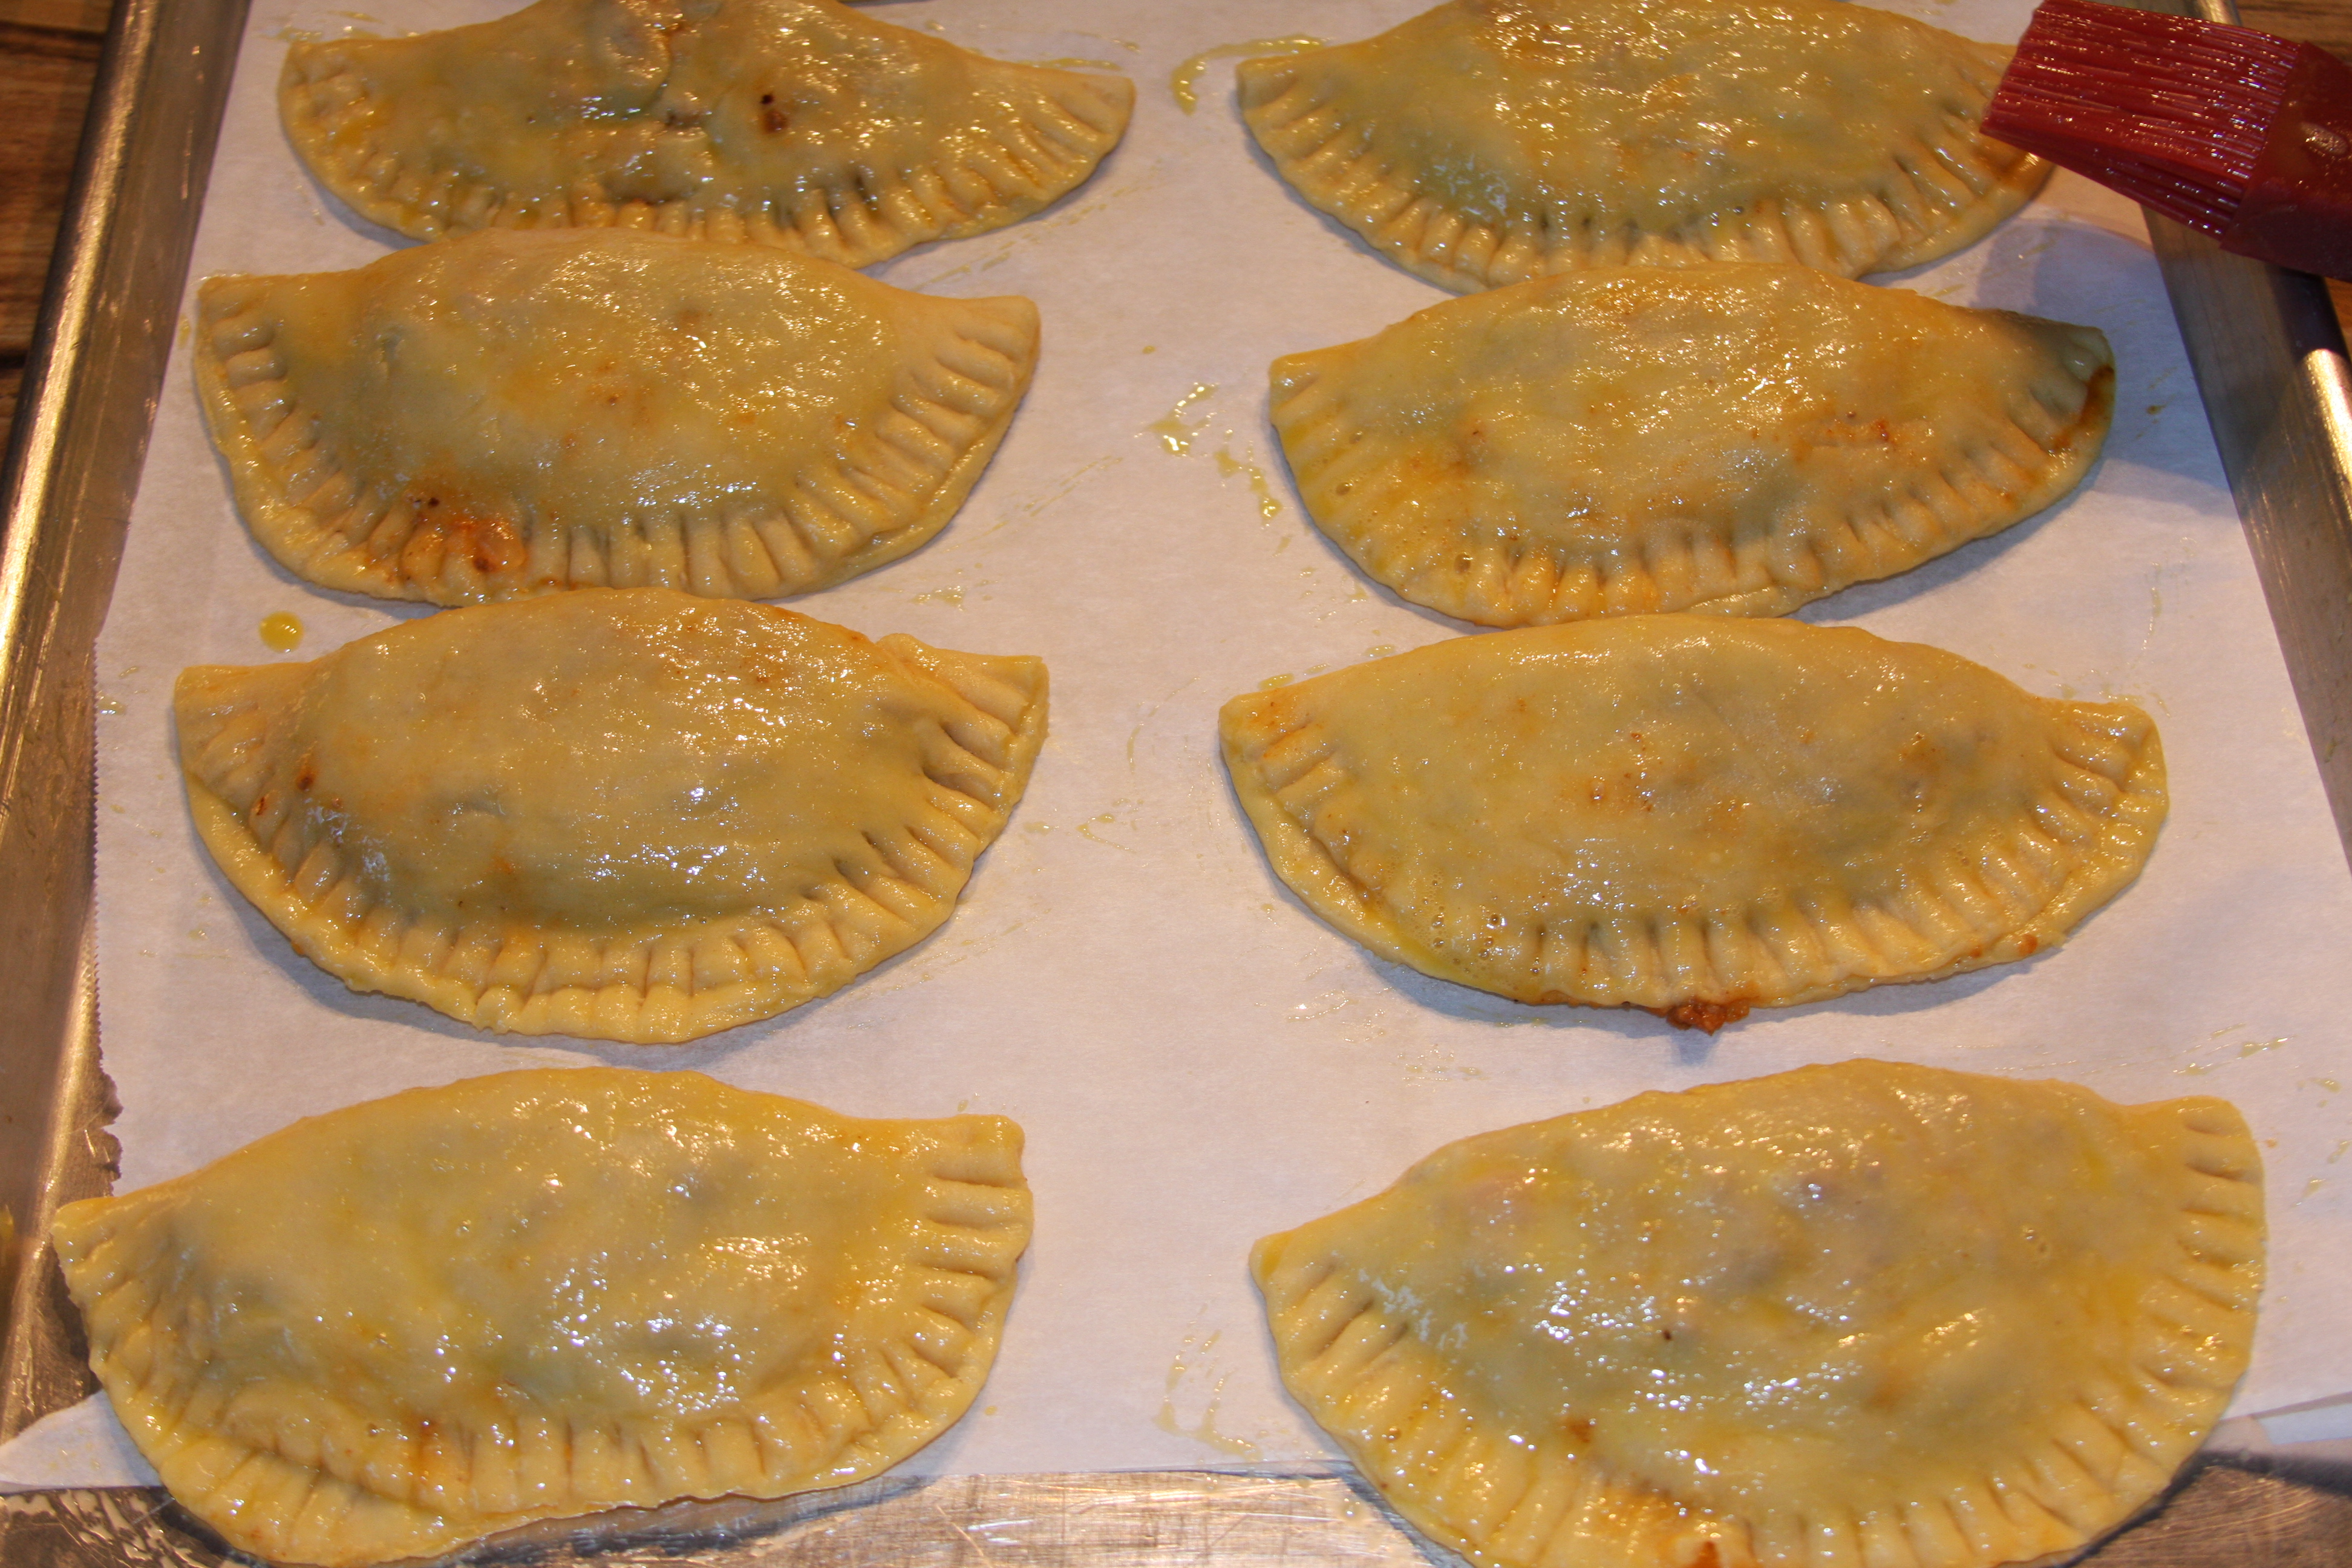
Place parchment paper on a large baking sheet. Line up empanadas on the baking sheet and brush the tops of all of them with the egg wash.
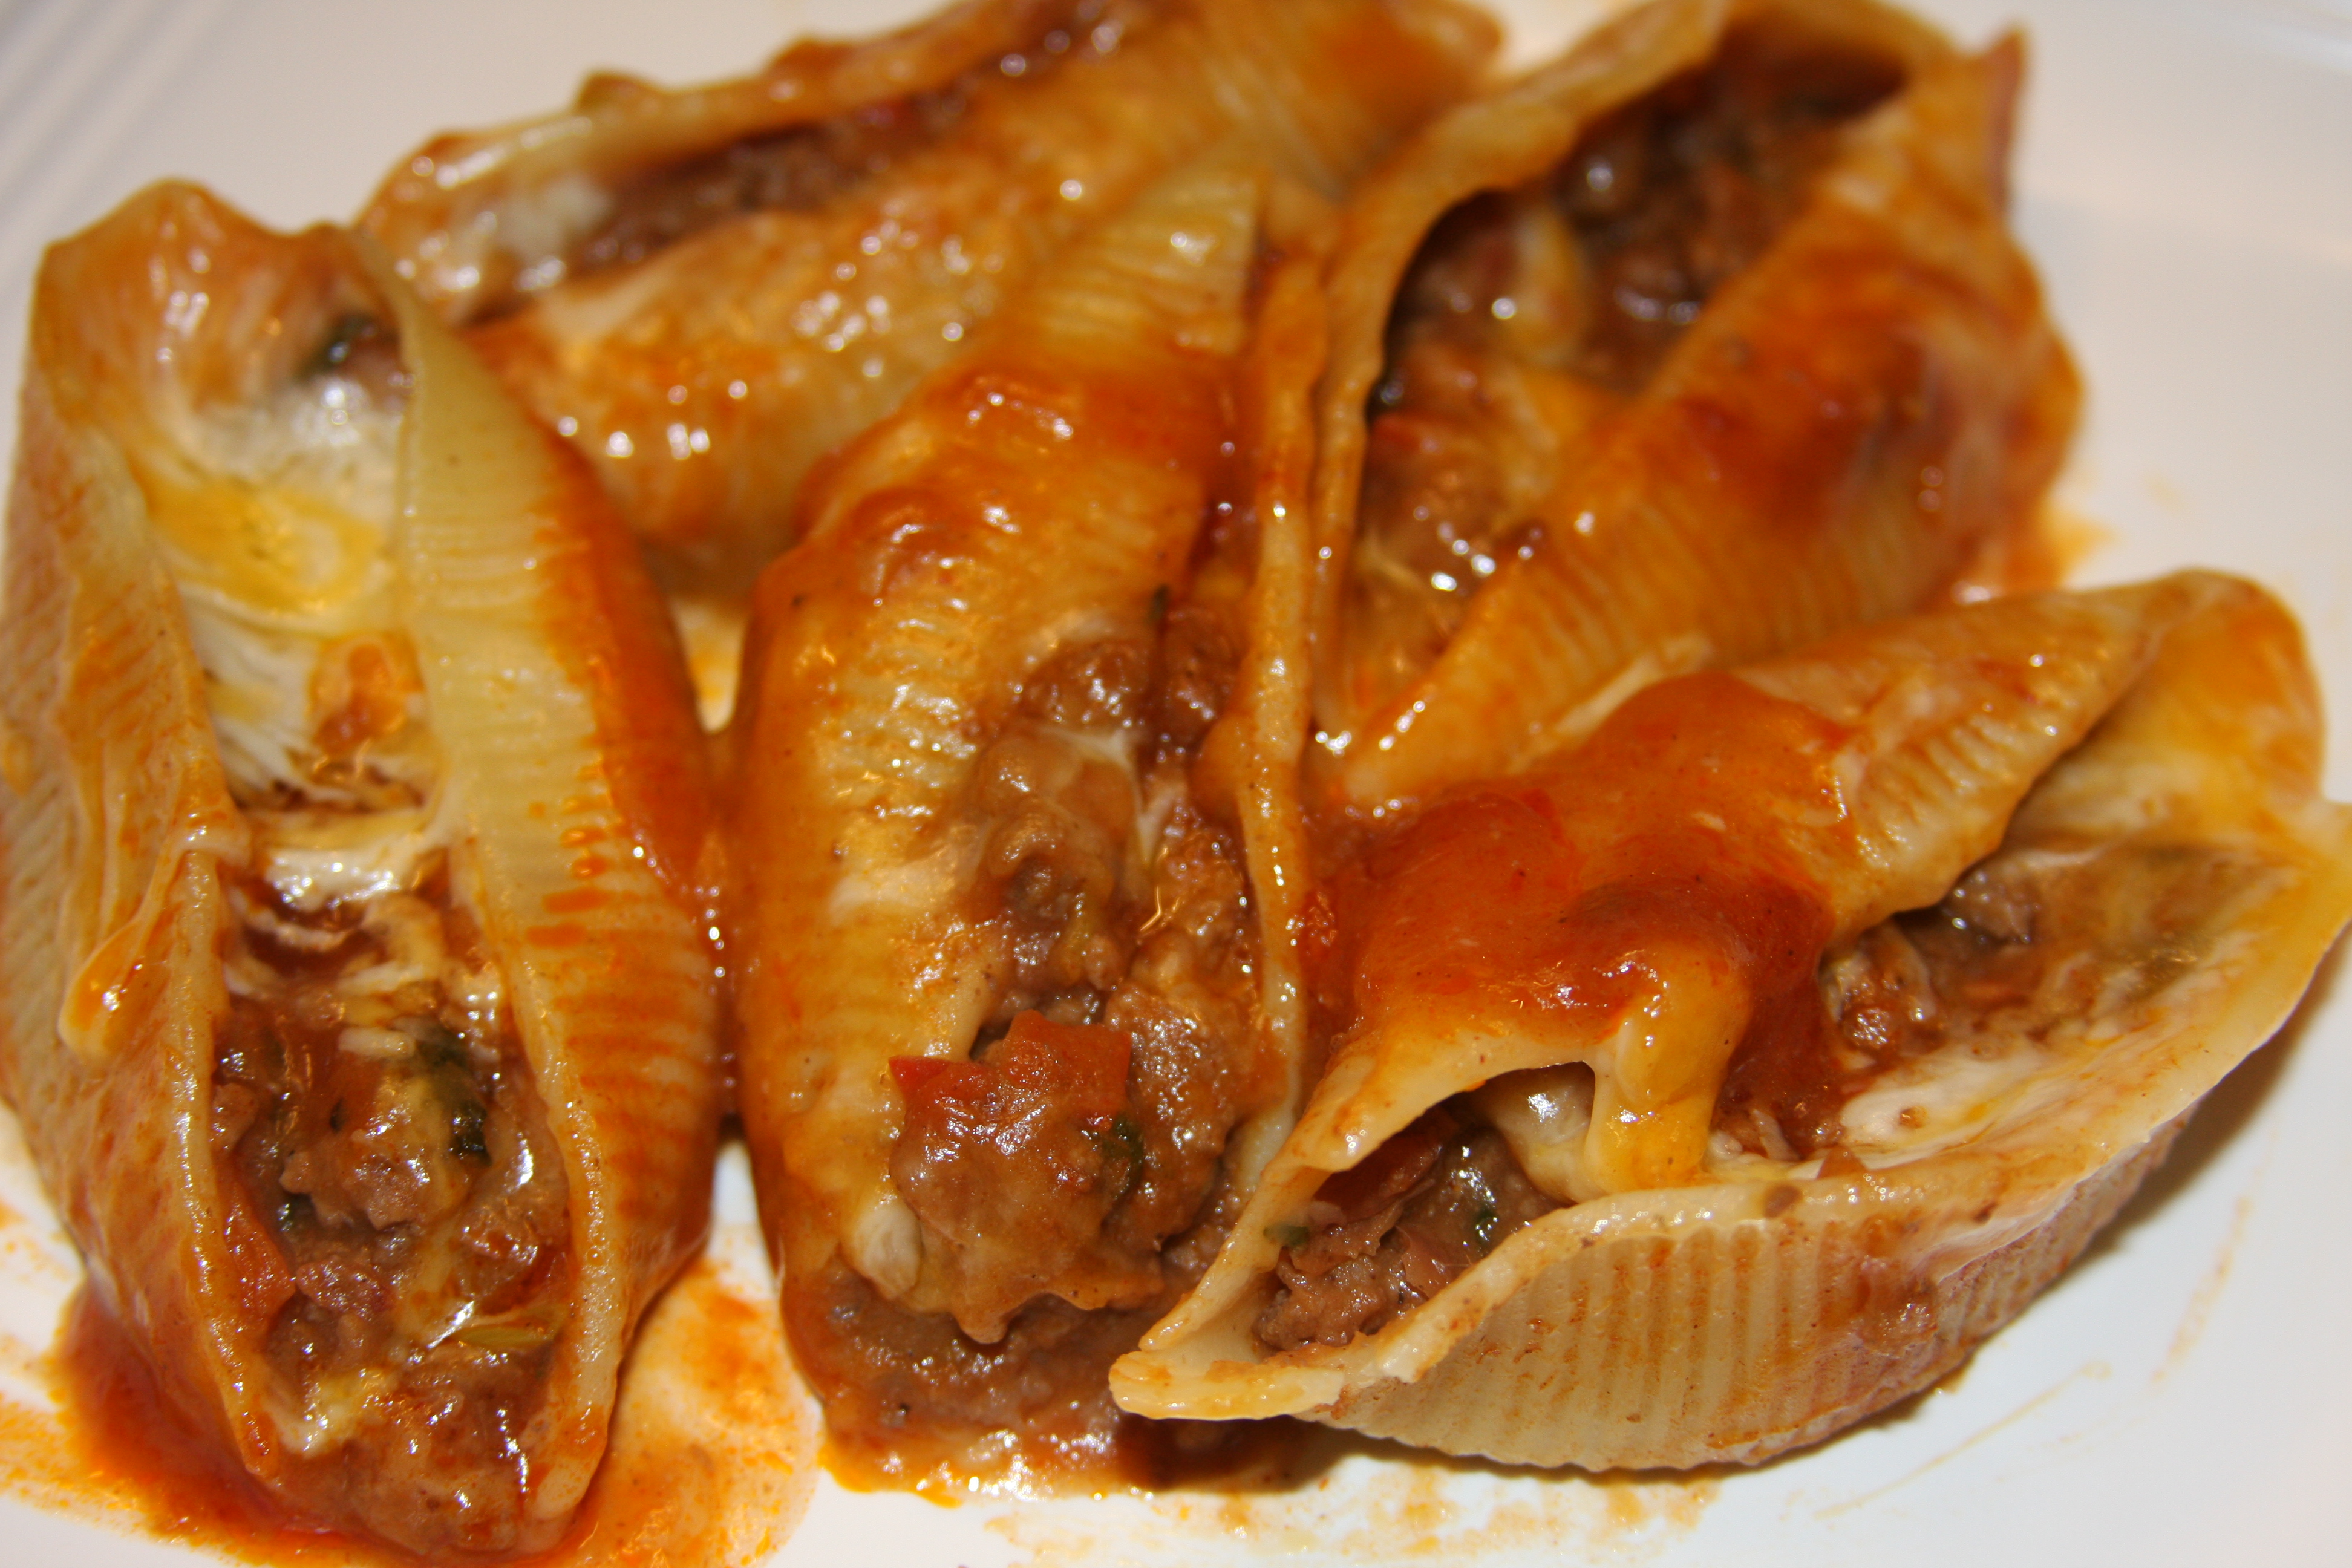
 Bake at 400 degrees for 25-30 minutes.
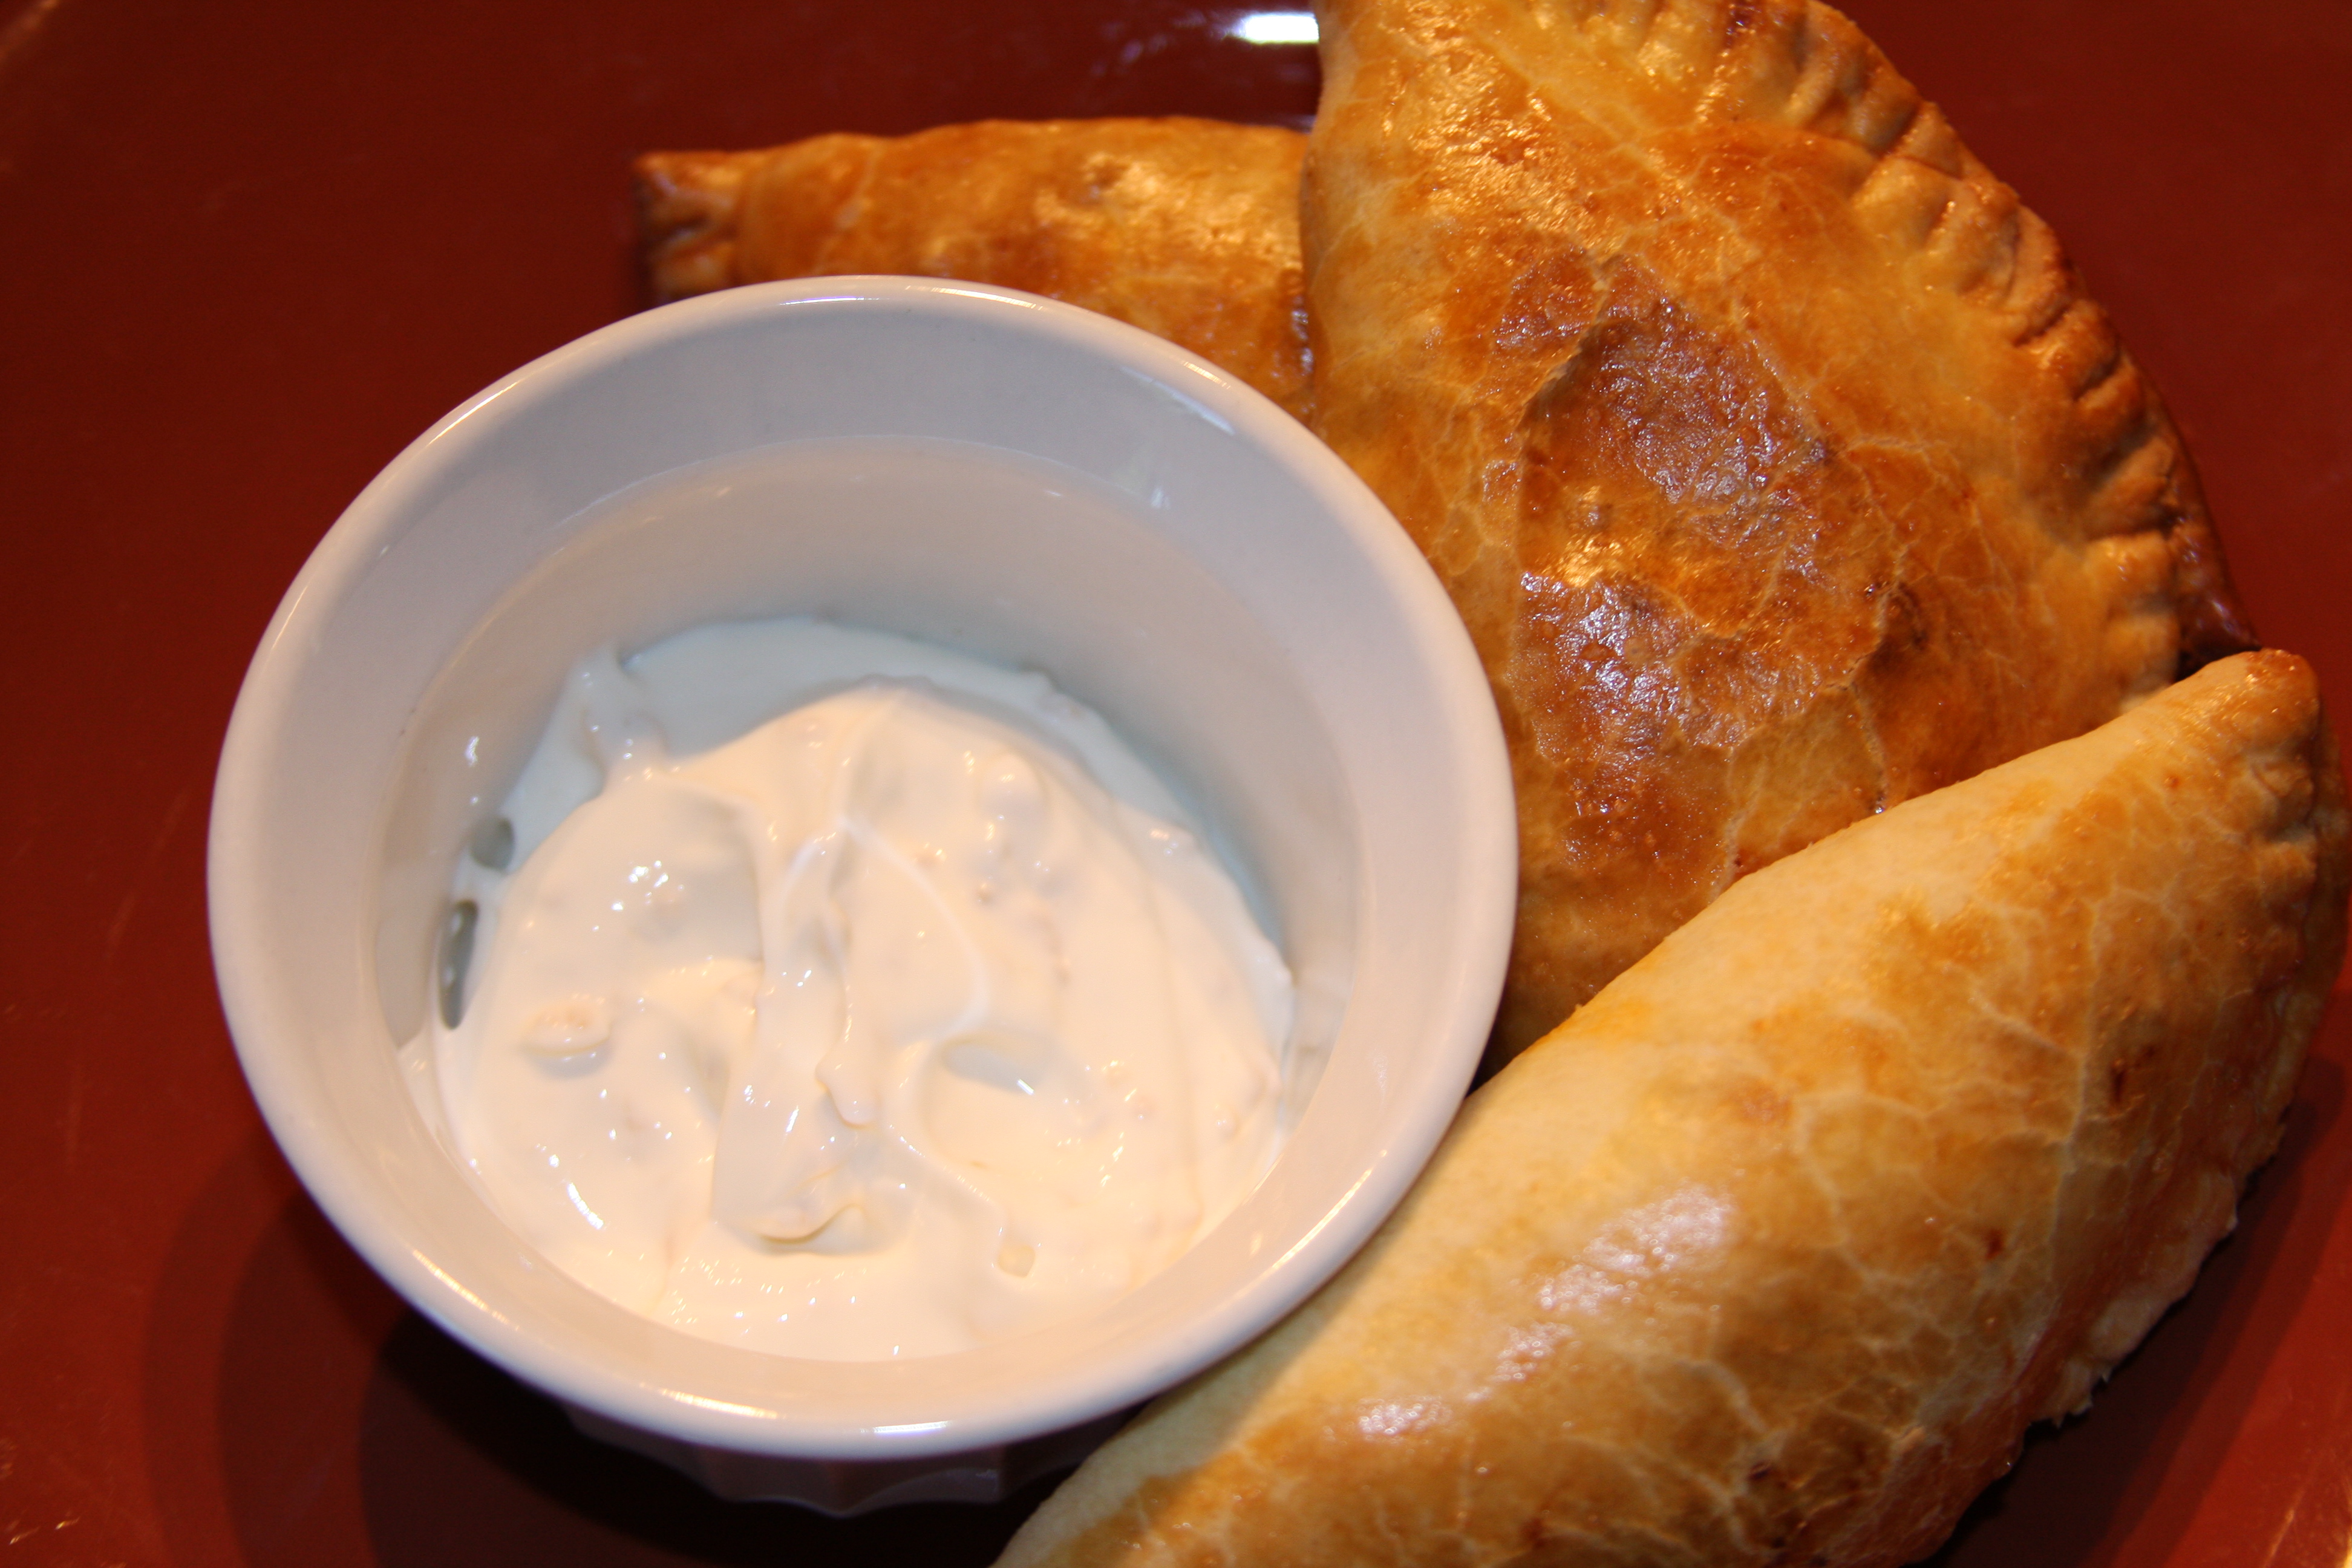
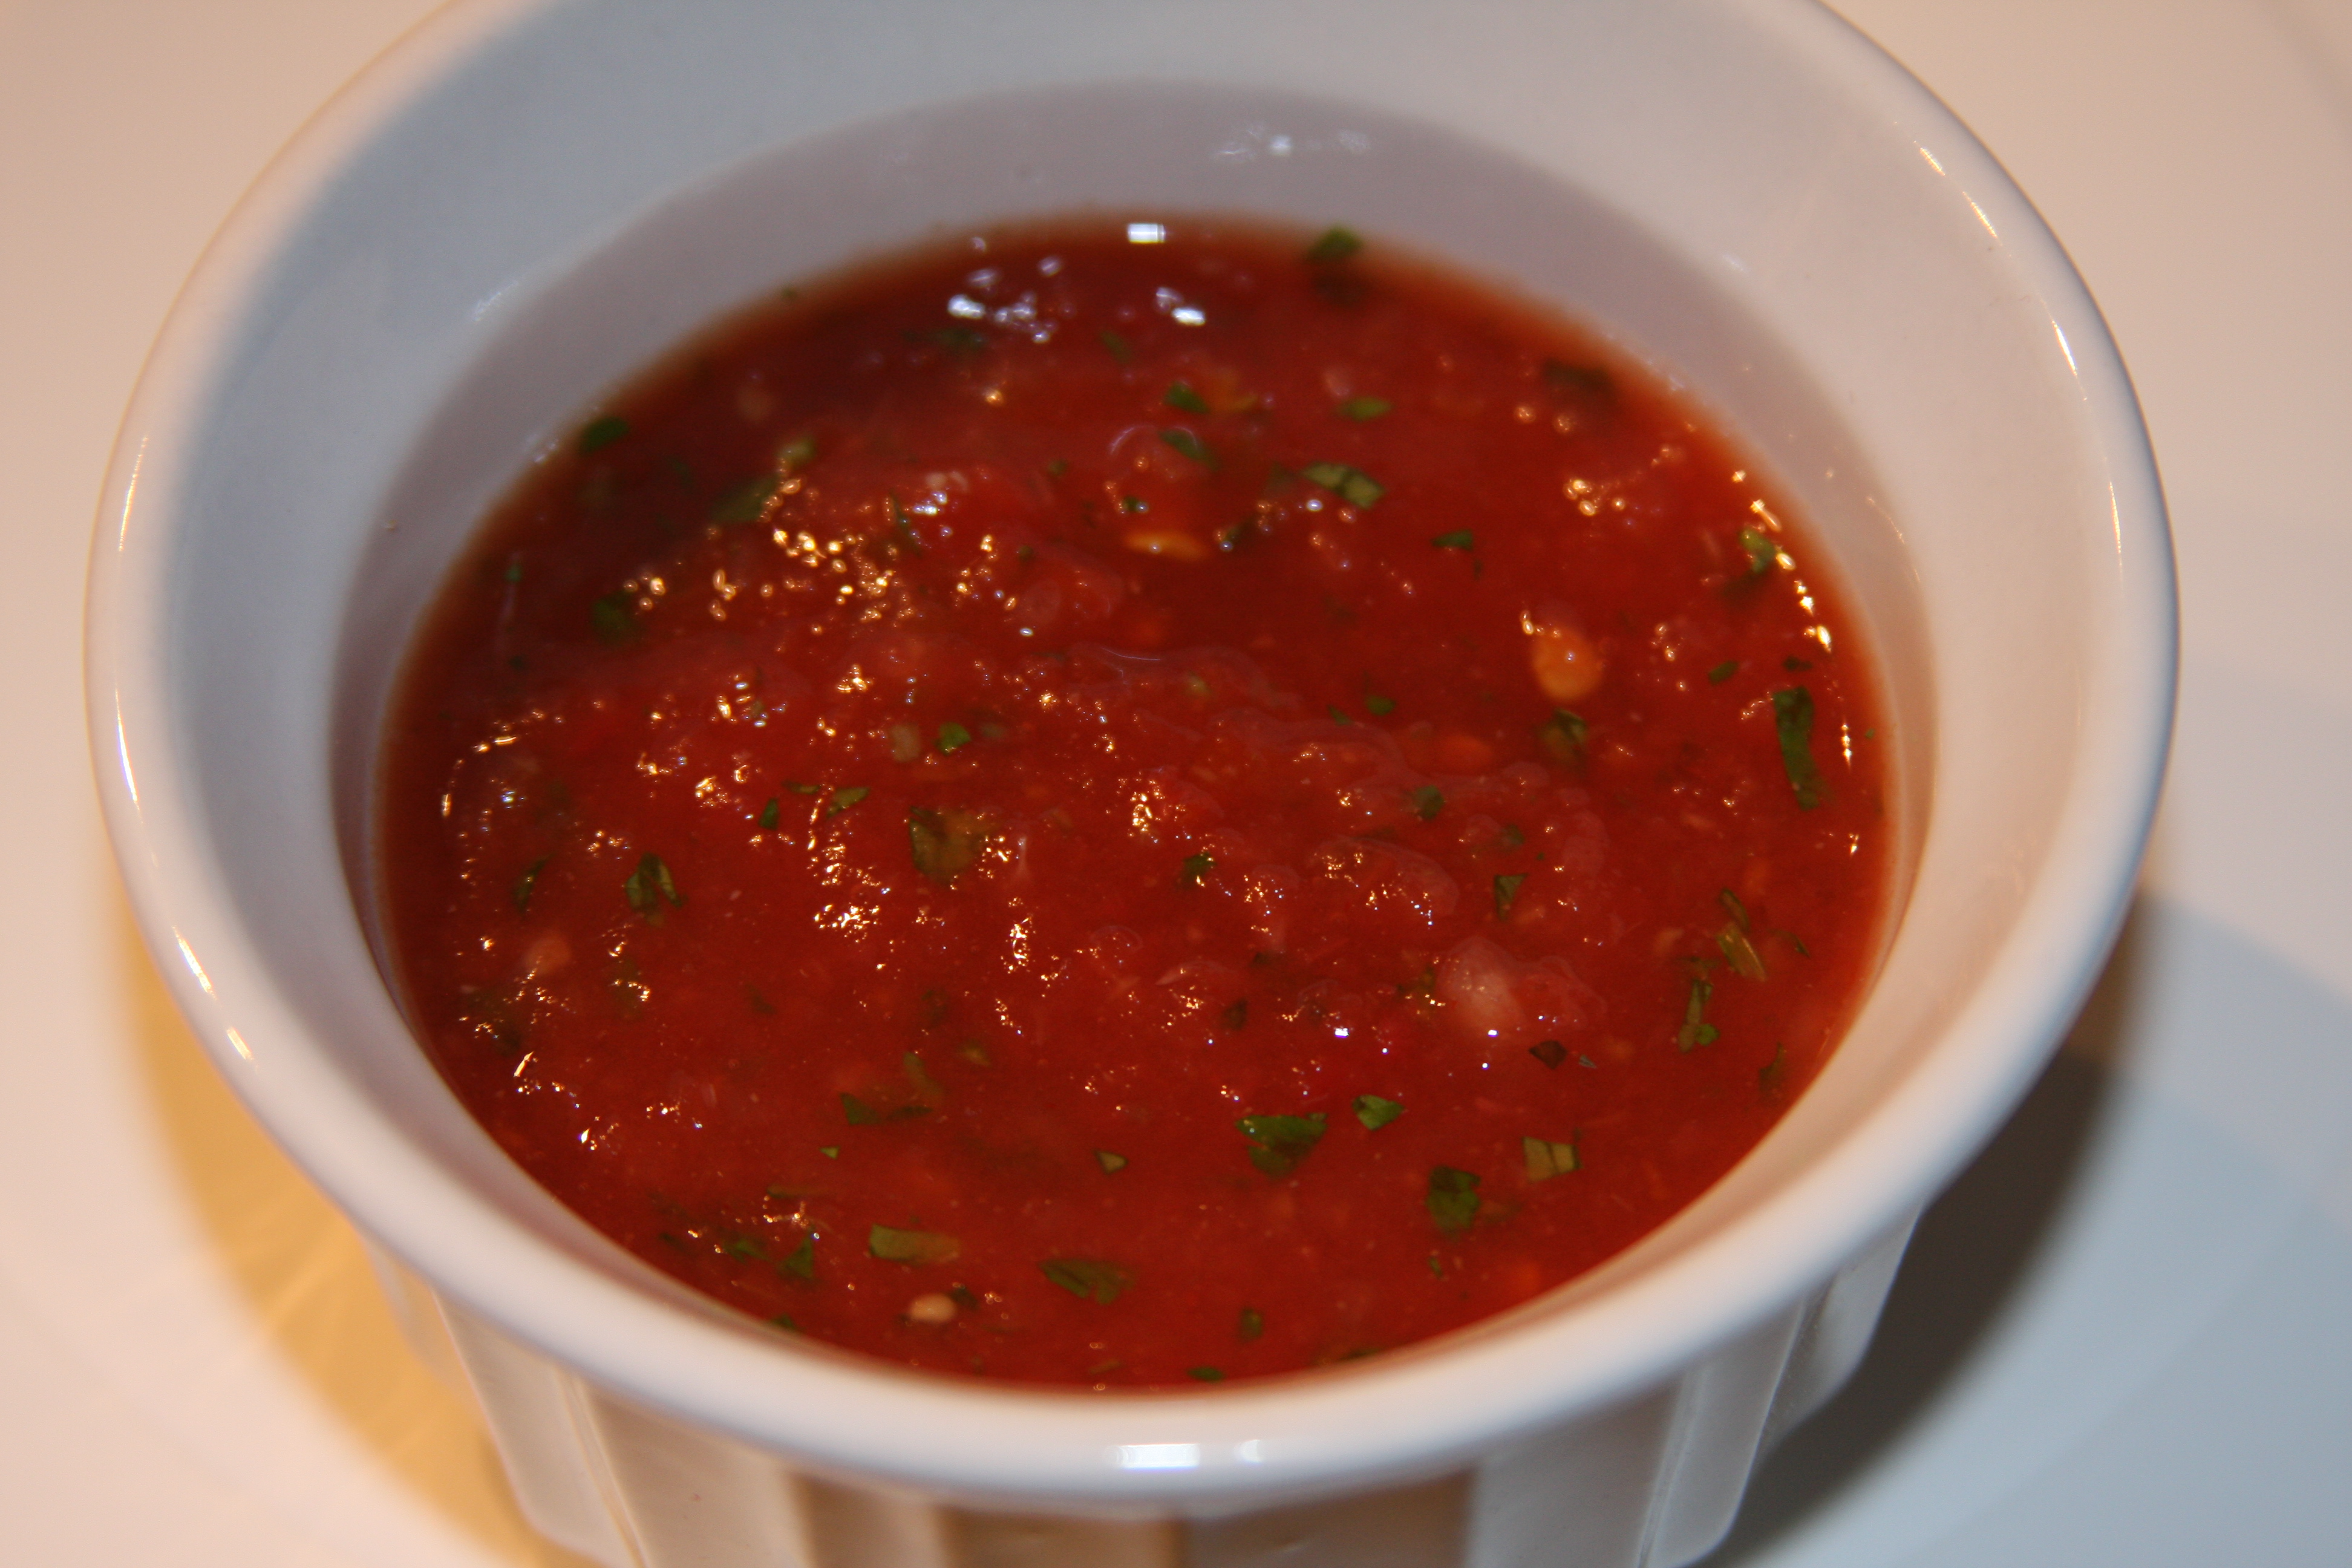
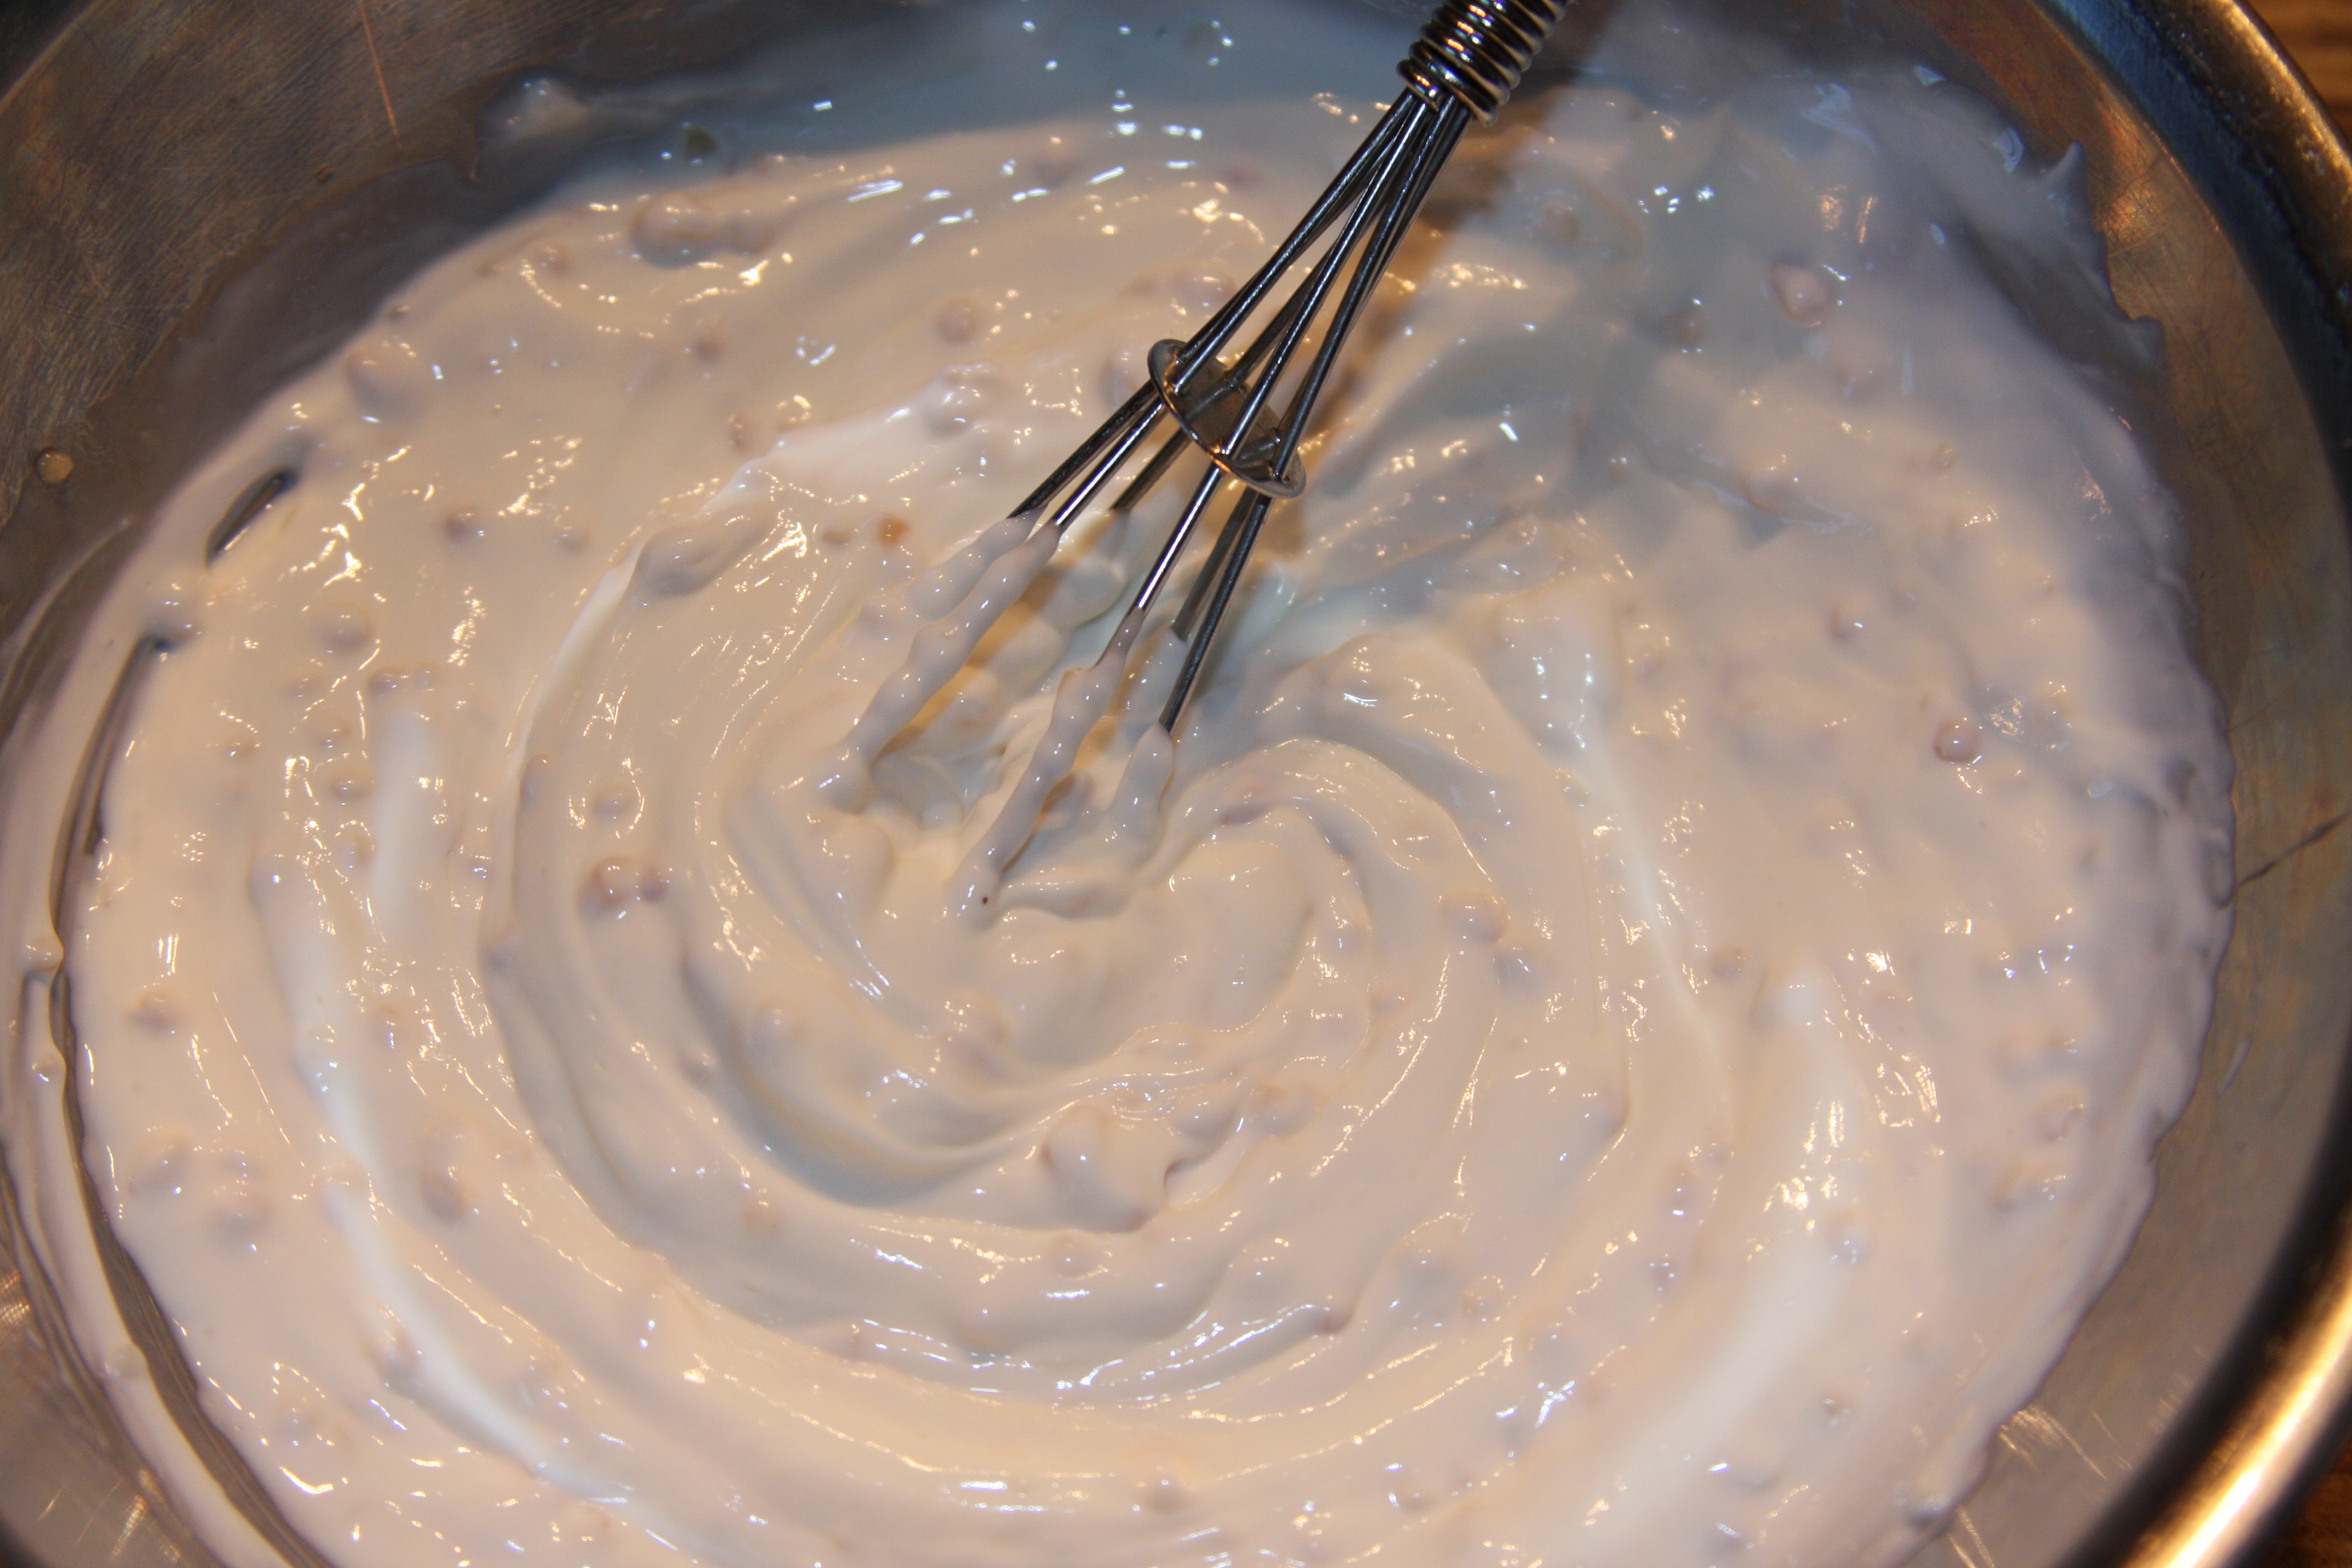
We make a sauce to dip the empanadas in. It’s just sour cream, minced garlic and sea salt whisked together. I don’t have detailed measurements for this, we just kind of add to it until it tastes right to us. Sometimes I chop up fresh cilantro and mix that in too. It is a perfect compliment to these.
 Enjoy!!


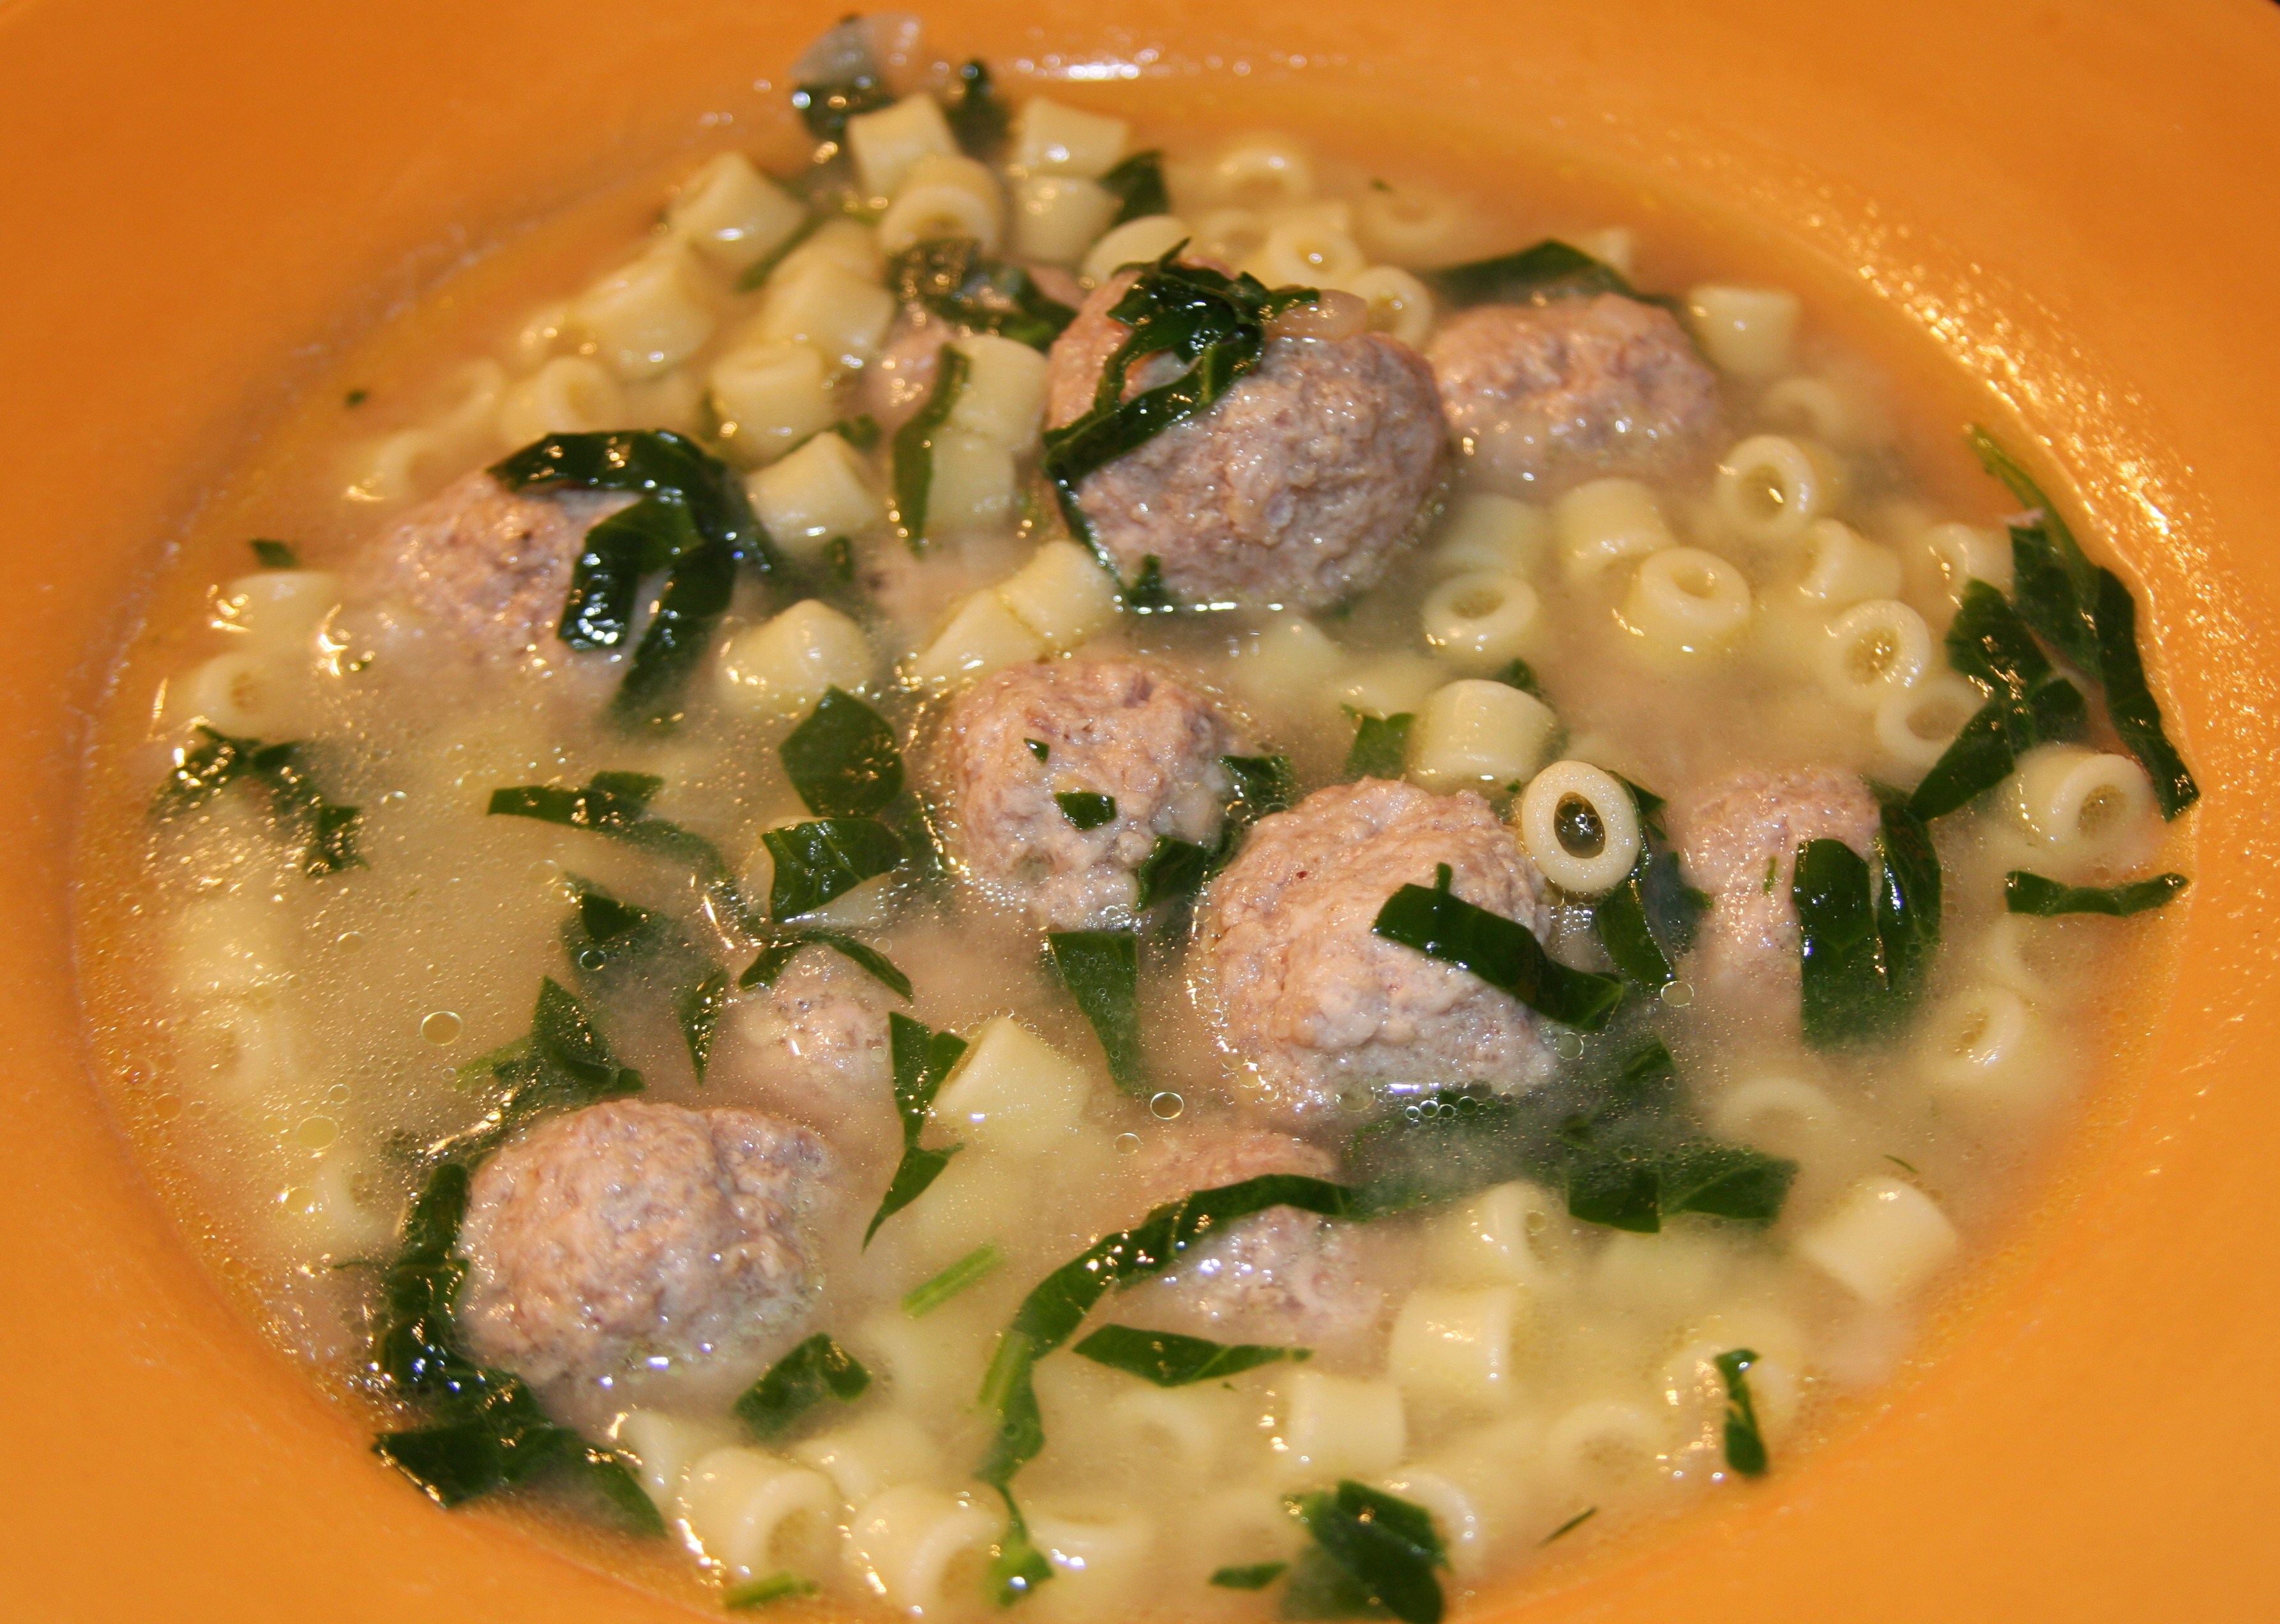
 Yesterday my baby boy turned 17, which still has me in denial. As I sat at looked at his baby pictures, I just couldn’t figure out how the time went by so quickly. He was just this tiny little sweet baby and now he is 6’3″ and practically a man. I was feeling a little nostalgic and the monsoon we were having outside really had me in a funk and needing some comfort food. To me, comfort food can be different depending on what kind of mood I am in, but generally, it is soup of some kind. I got to digging around in the fridge and found some baby portobello mushrooms. I had forgotten that I purchased them and had I not used them quickly, I would have had fungus on my fungus.
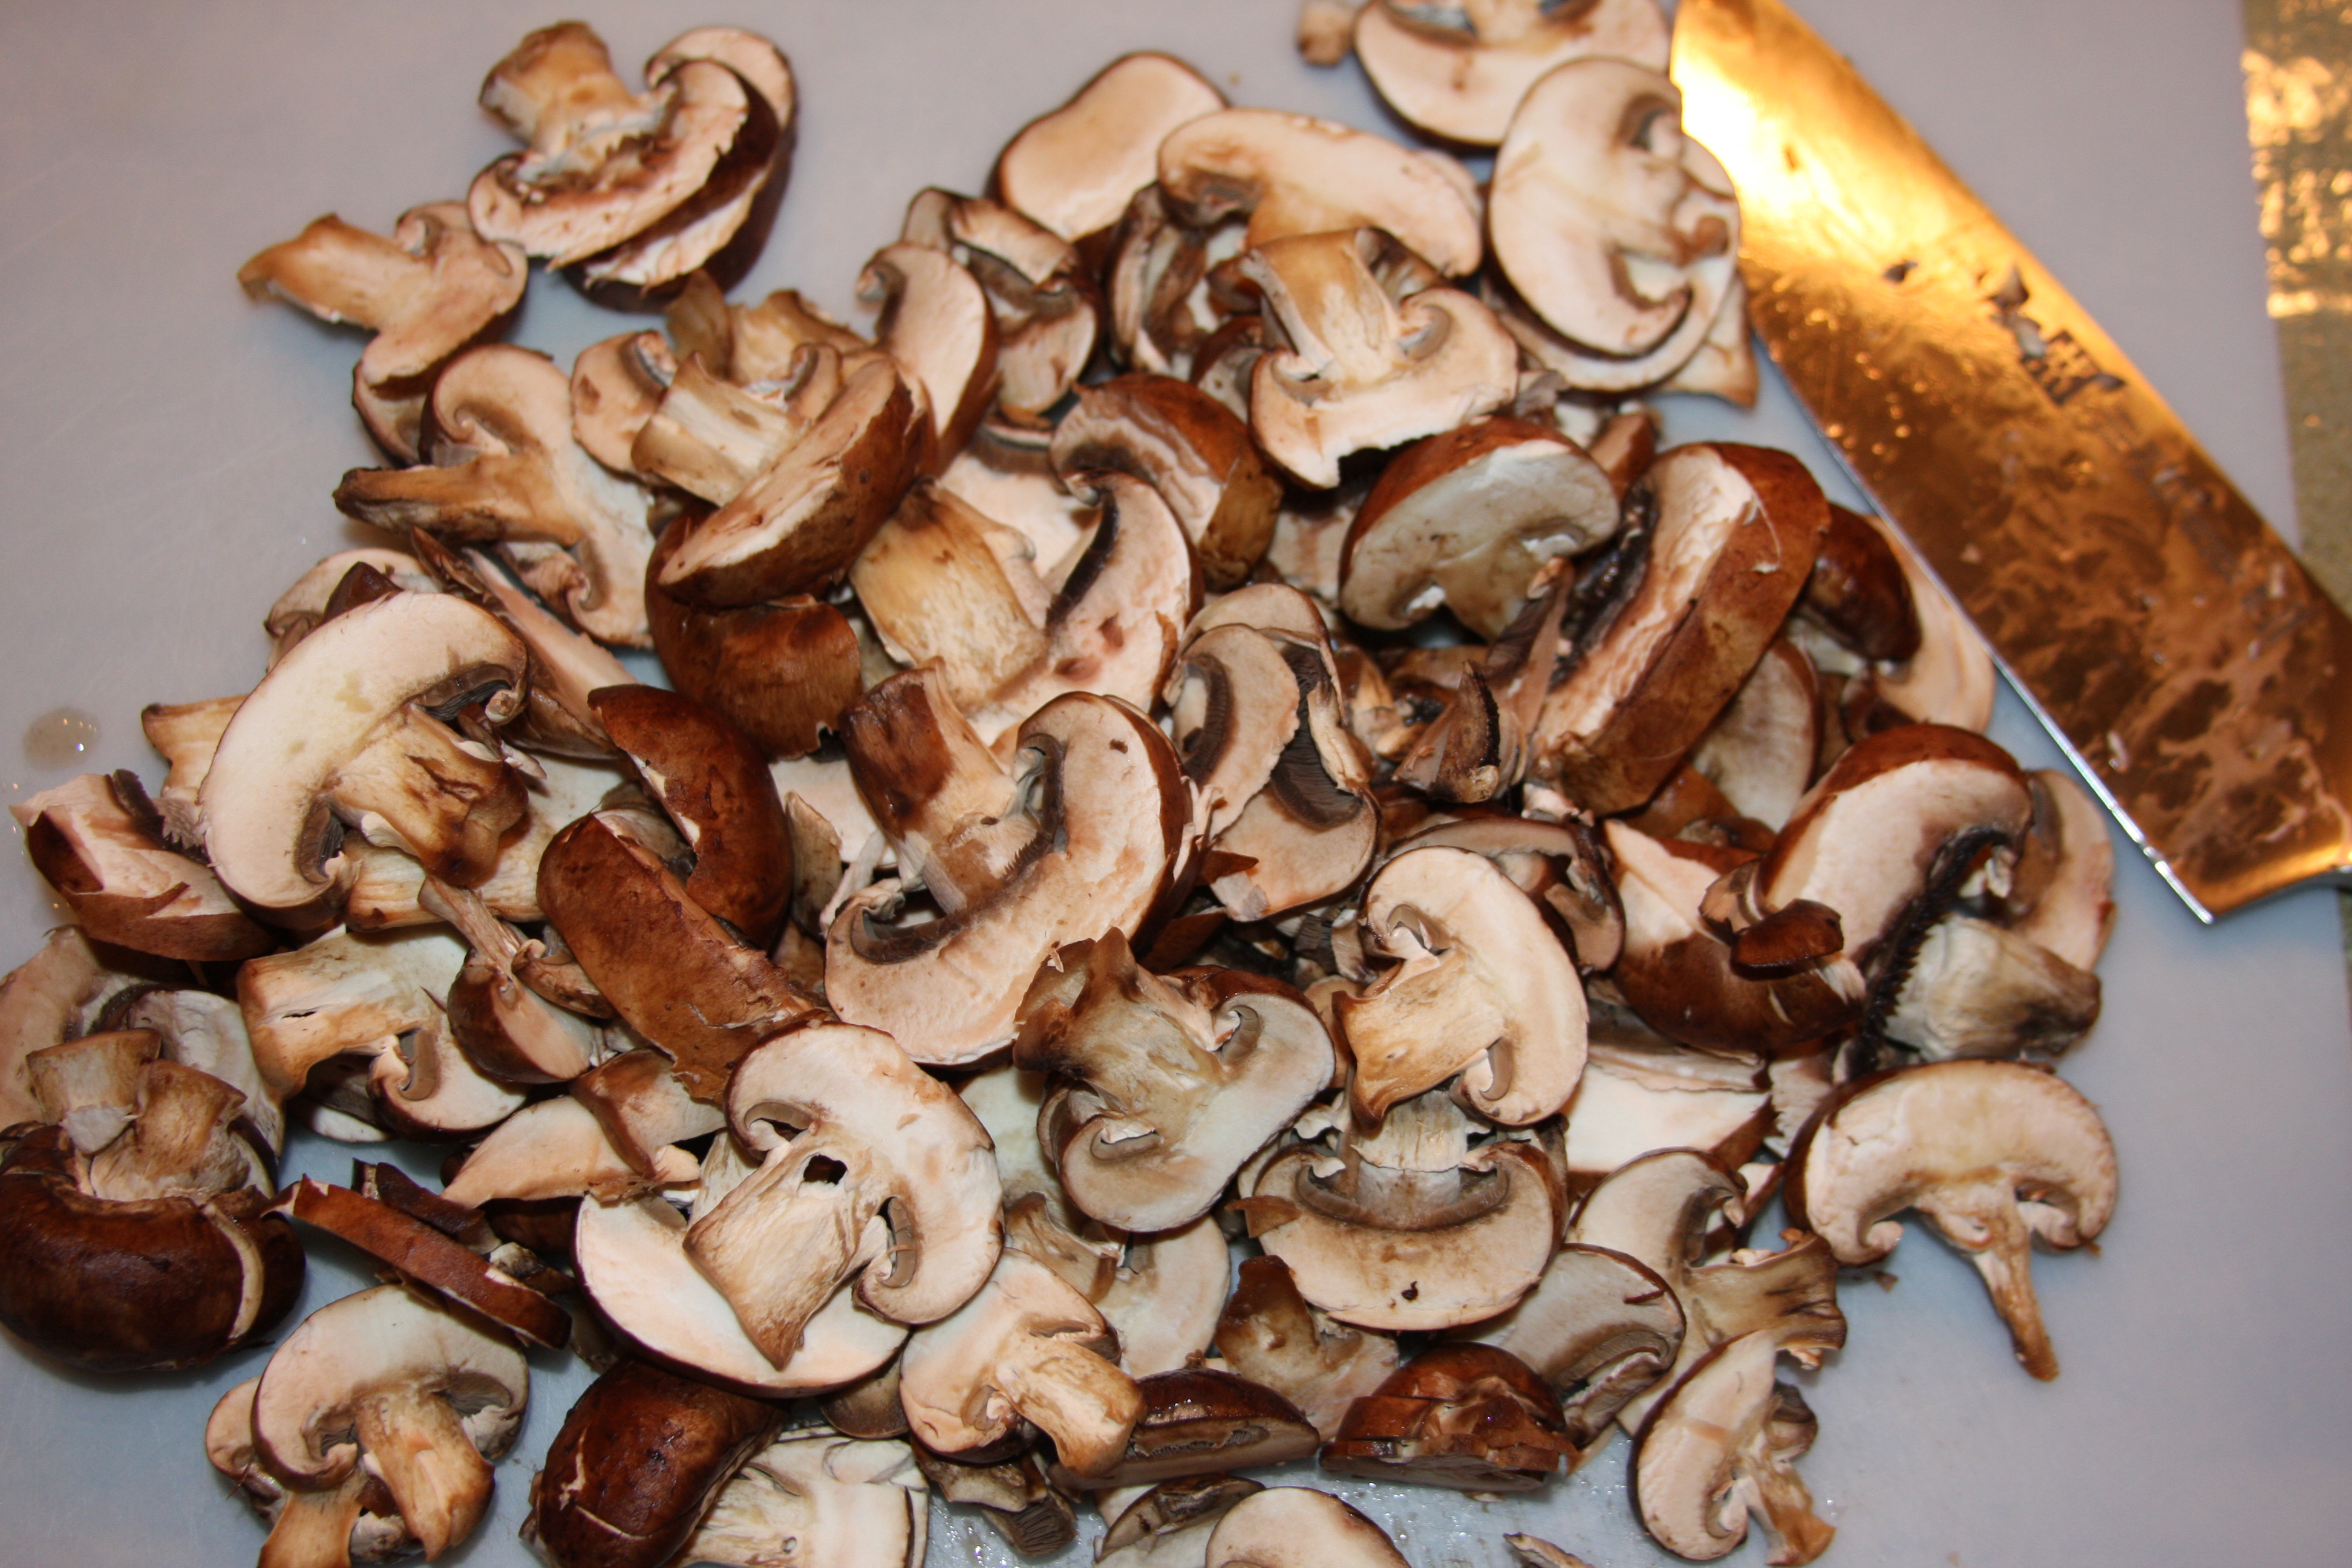 Chop up all your mushrooms and your onion. I chopped the onion up pretty fine, because I didn’t want a bunch of large pieces in the soup, you feel free to do whatever you prefer. In a large skillet, over medium heat, add 1 tablespoon of butter and your chopped onion. Let the onion cook up for about 2-3 minutes, then add your other tablespoon of butter, all of the chopped mushrooms, and the minced garlic. Let all of this cook for about 5 minutes, or until the mushrooms are dark and soft. Sprinkle in the dried parsley and pepper, be cautious with the salt until you know how salty your broth will be.
 Once these are all cooked up, place them in a sauce pot and add in your broth and the bay leaves. I started with 4 cups of broth (5 tablespoons of Better Than Bouillon beef and 4 cups water), but then added in about 2 more cups of water, which made the consistency and taste perfect. Bring mixture to a boil, reduce heat to low and let simmer for about 15 minutes, stirring occasionally.
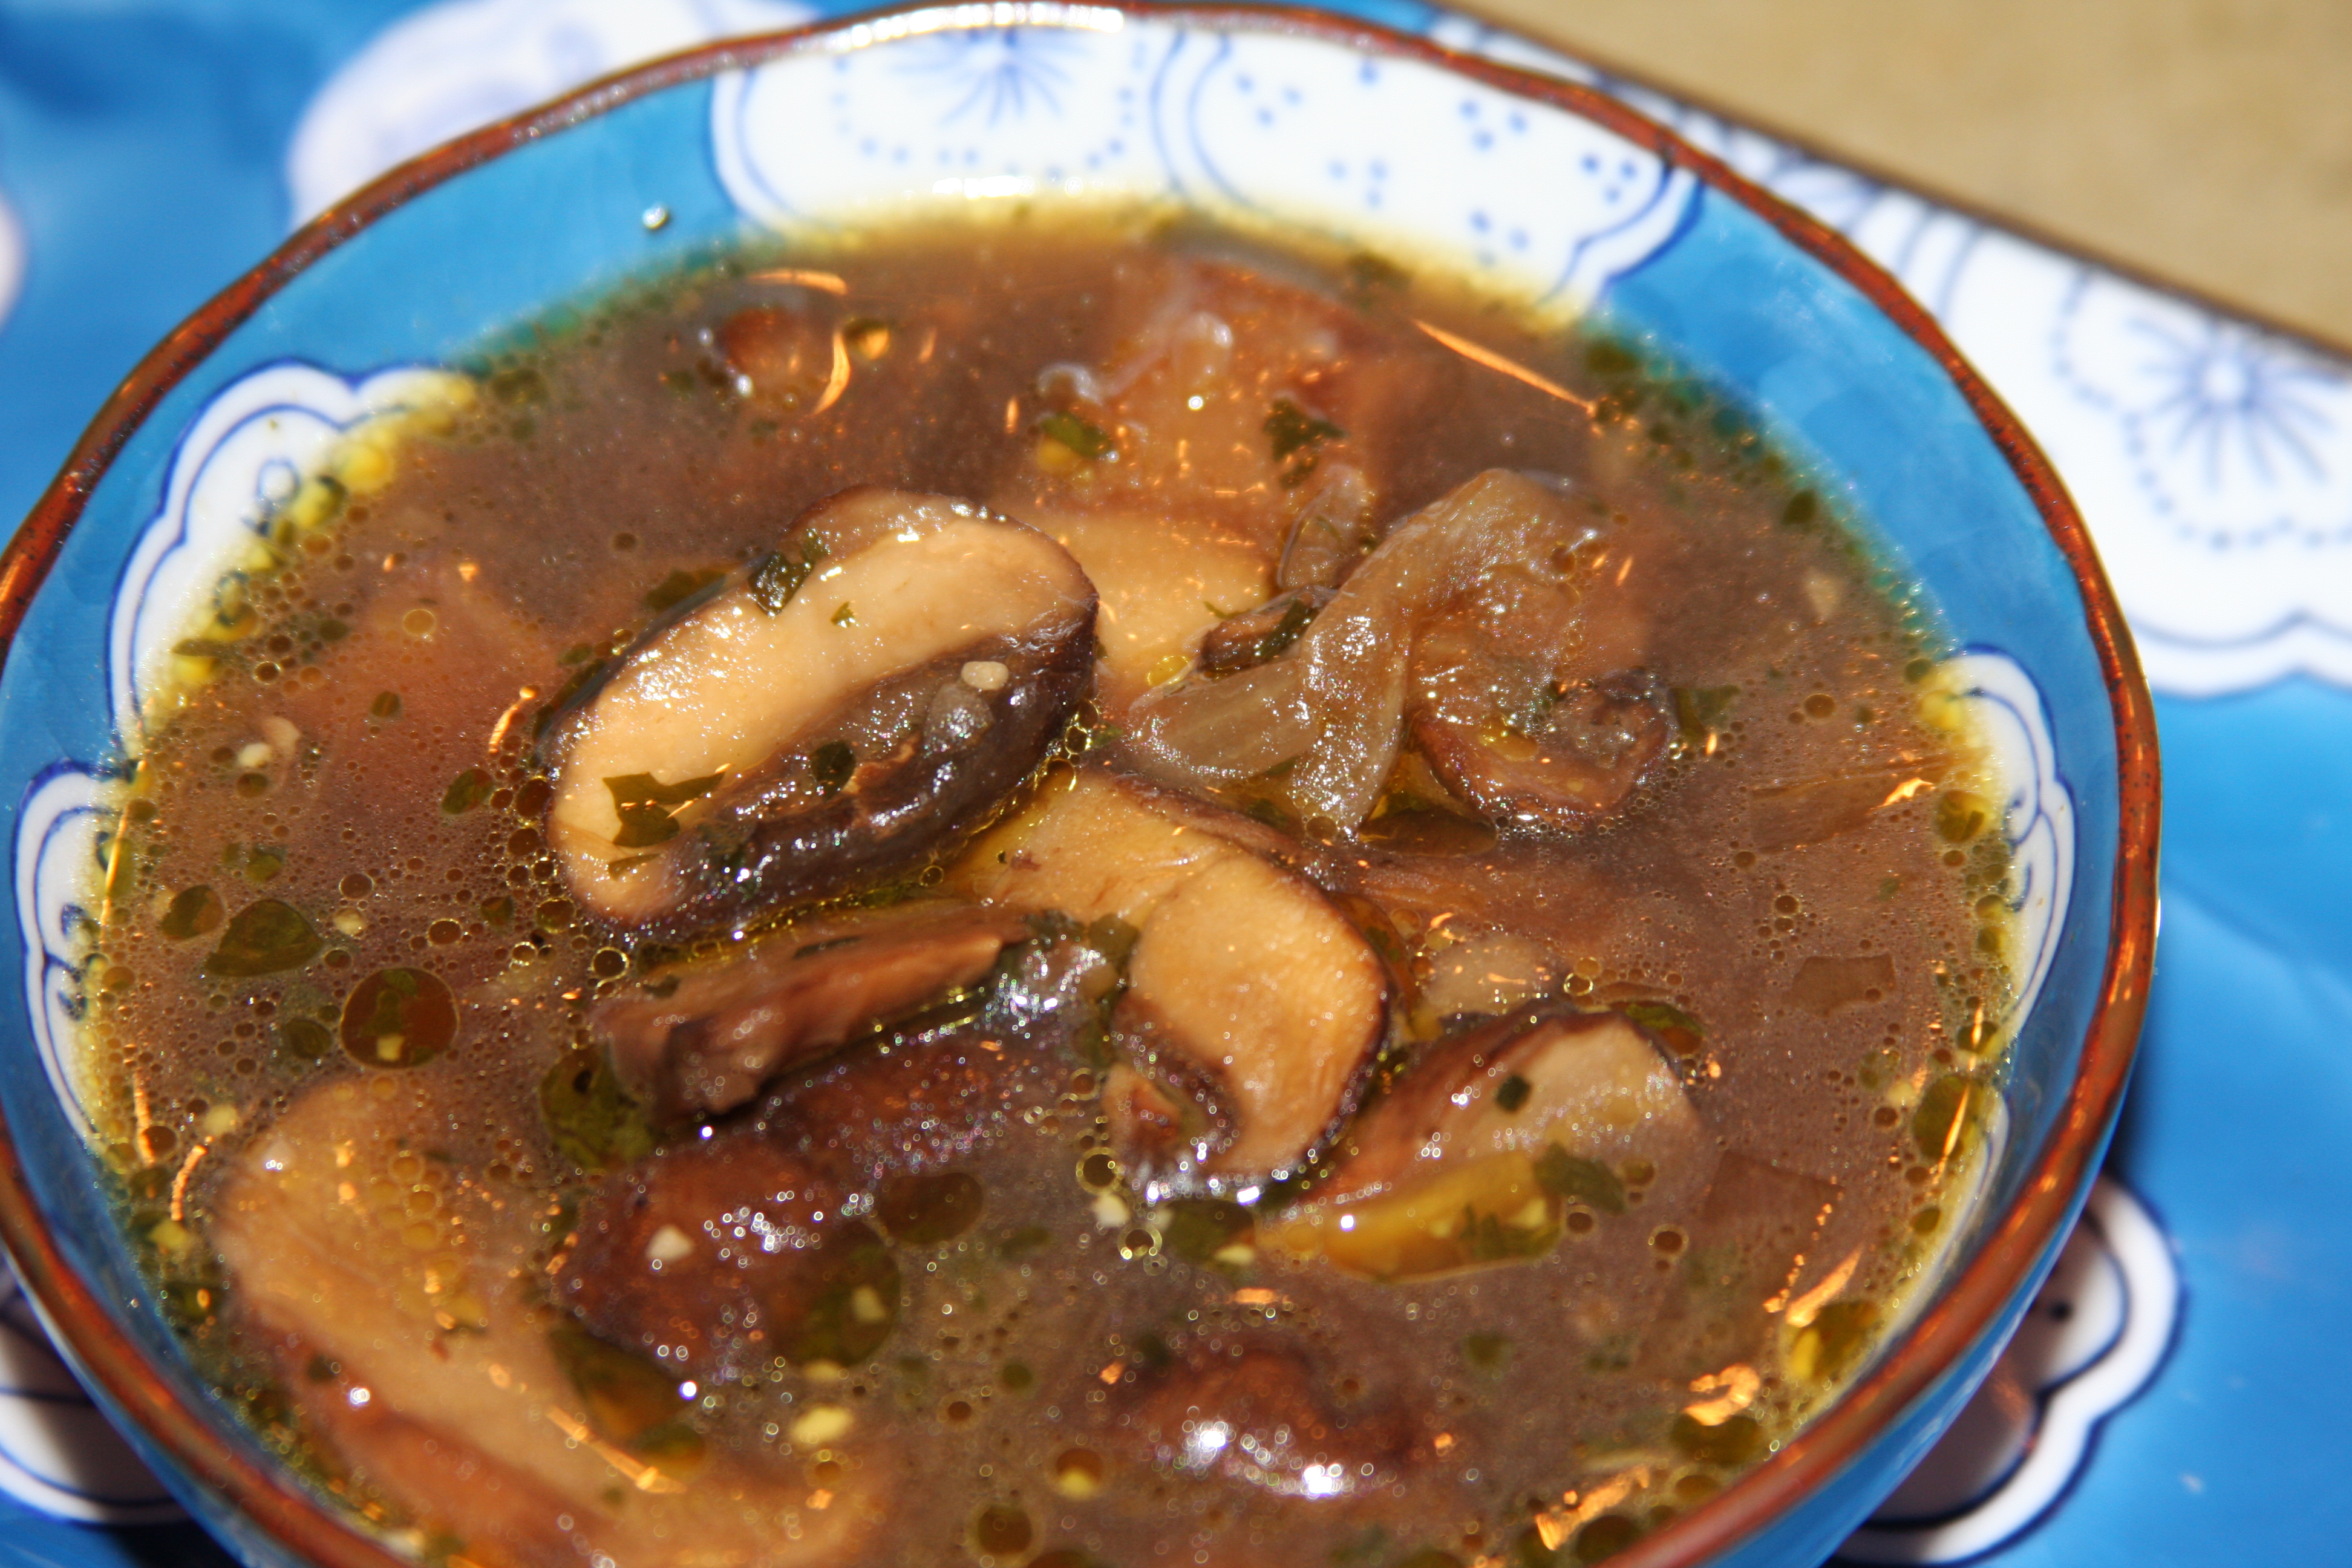
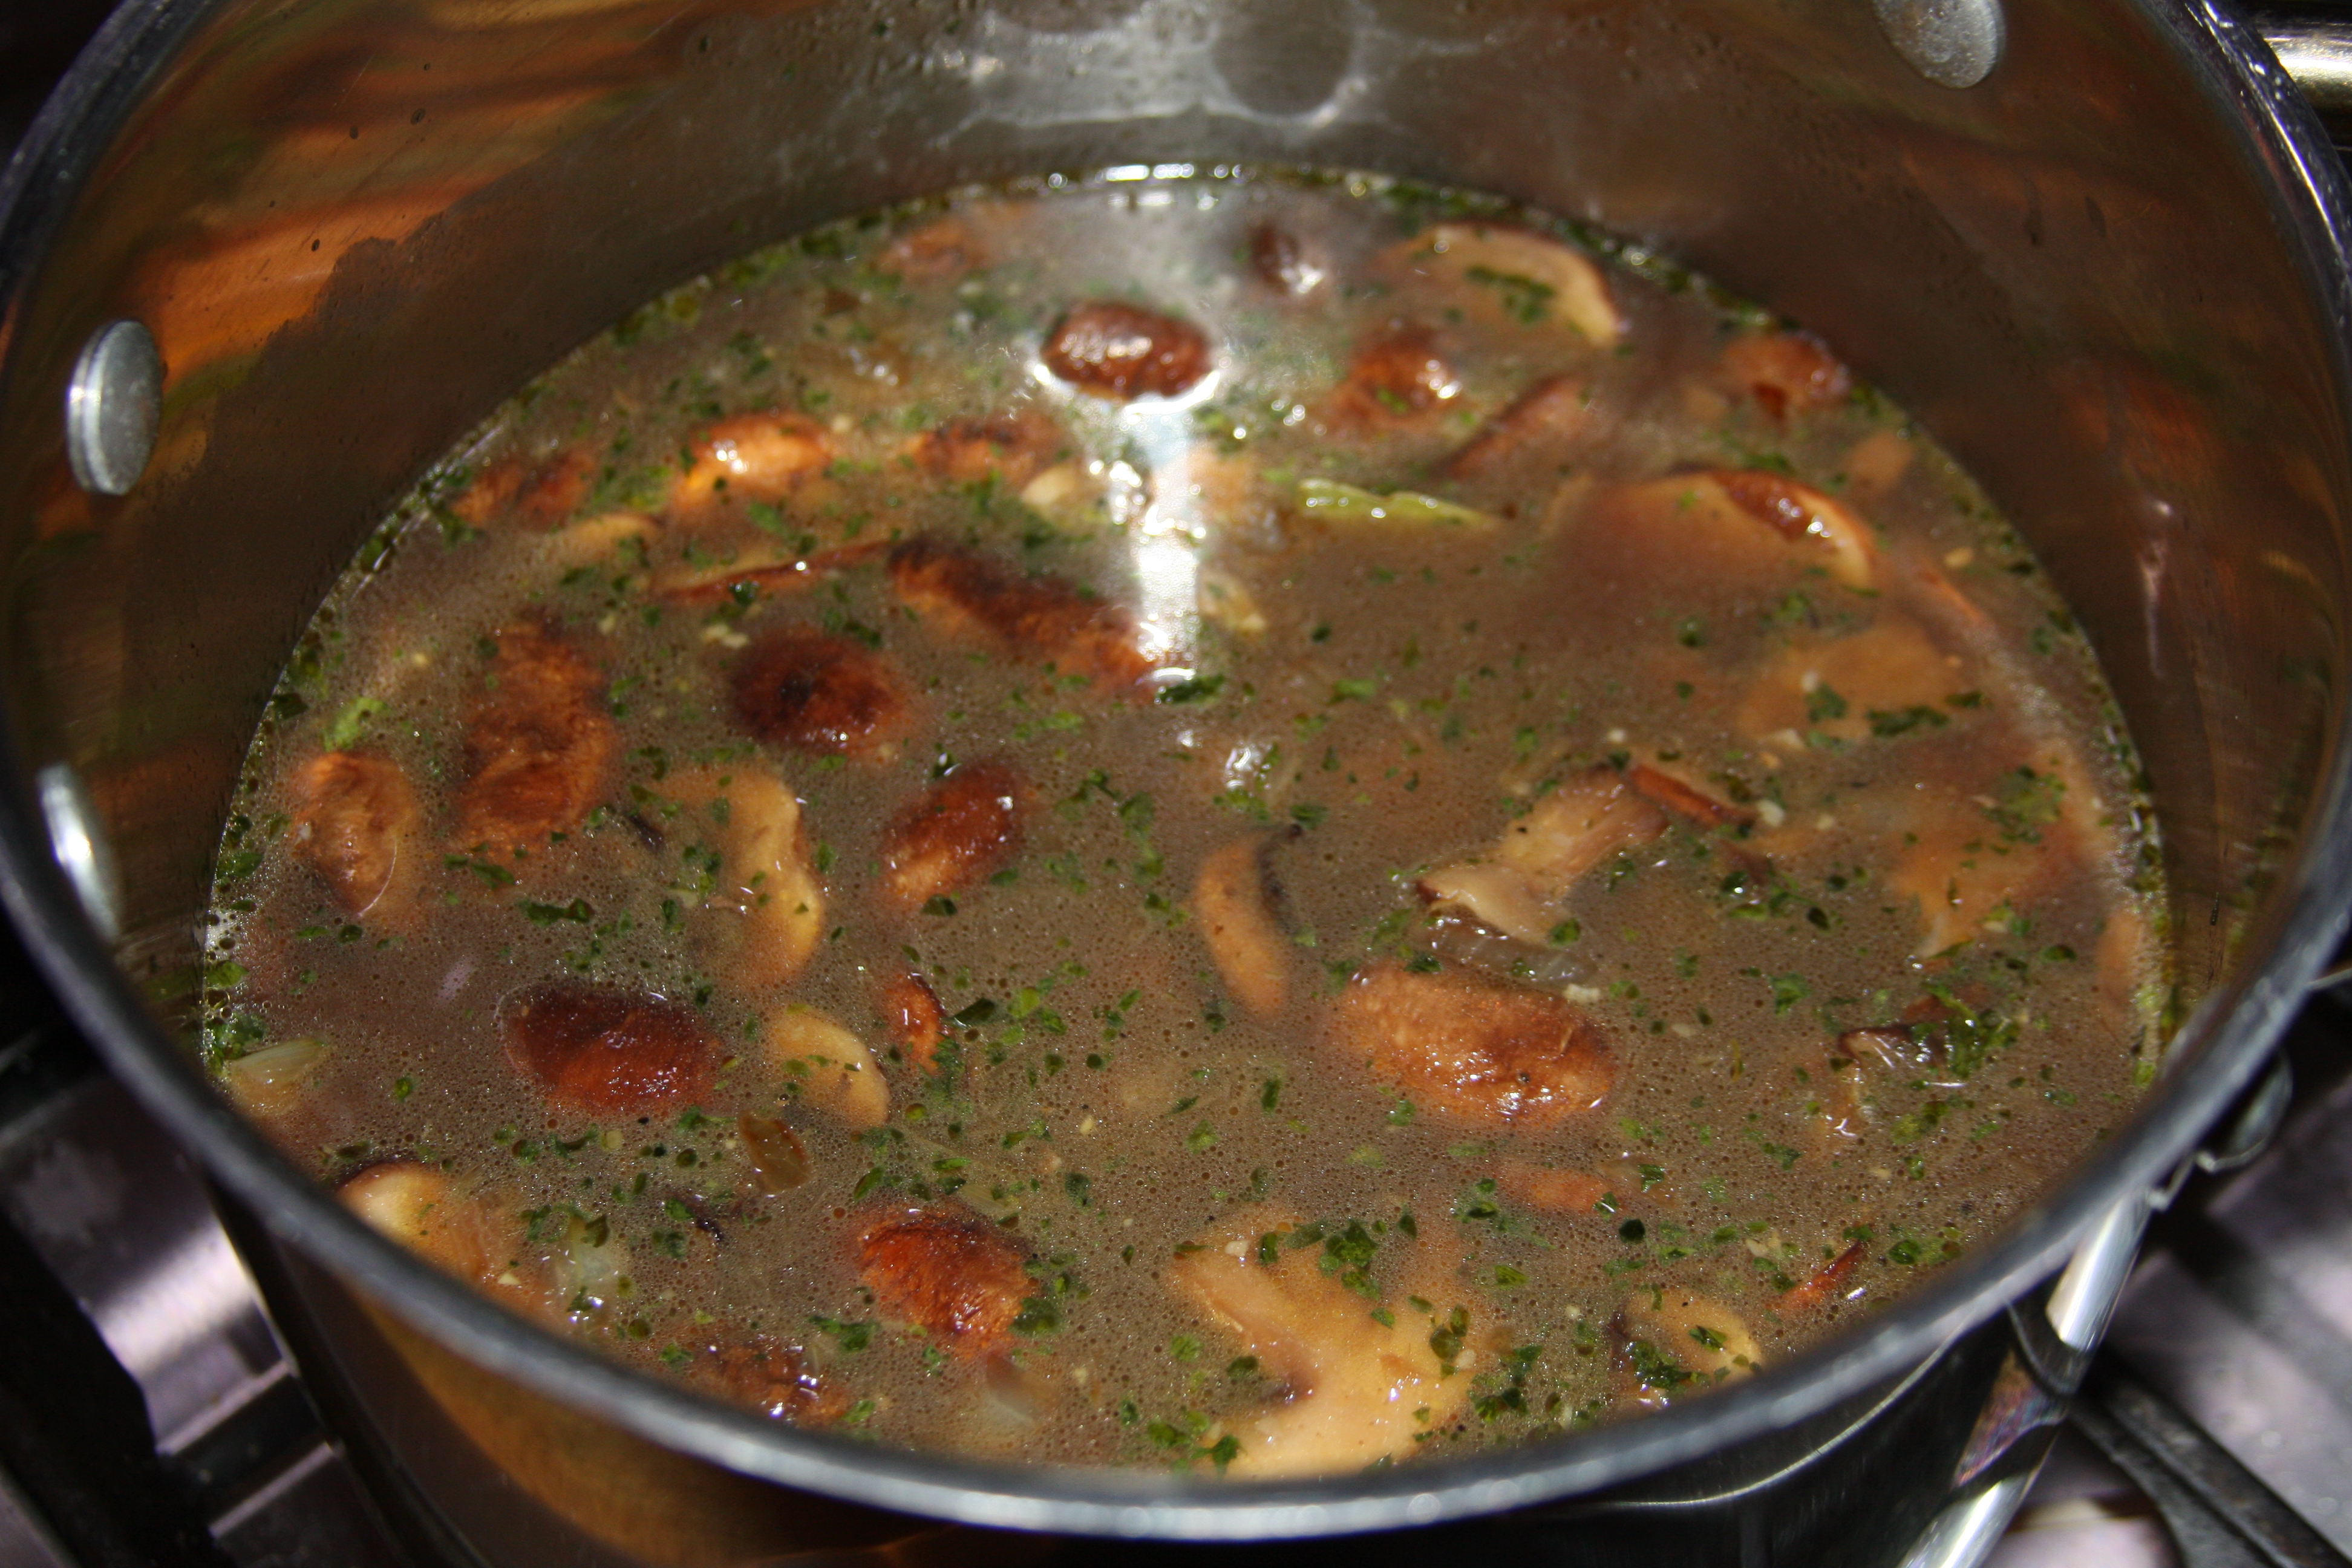 That’s it, super easy. I had it warmed up for lunch today and it was even better. Enjoy!